Tag: craft class

  • Amado Leather Workshop in Jeonju: Lunchbox Keyring Review

    Amado Leather Workshop in Jeonju: Lunchbox Keyring Review

    🇯🇵 日本語版はこちら

    Quick honest review of Amado Leather Workshop in Jeonju Hanok Village. Did the lunchbox keyring class on a Friday afternoon. Short version: 28,000 KRW (~$21), roughly an hour including a bonus activity they threw in for free, and you leave holding a tiny handmade miniature that’s actually cute. Worth it if you’re already in Jeonju.

    What’s a Lunchbox Keyring?

    Context first, because this won’t make sense without it.

    In Korea, miniature food art is a whole thing. Tiny polymer clay and UV resin replicas of food — rice balls, bulgogi, fish cake, fried eggs — packed into a miniature lunchbox and sealed as a keychain. It’s the Korean craft trend that’s been taking over traditional markets and cultural villages for the last few years.

    The “도시락 키링” (dosirak keyring — dosirak = Korean lunchbox, kyring = keychain) is the result: a transparent acrylic lunchbox about the size of a matchbox, filled with absurdly detailed miniature food, attached to a keyring.

    Doing it properly from scratch takes a skilled artisan. At Amado, you assemble a simplified version using pre-made clay and resin pieces in about 45 minutes. The result still looks genuinely good.

    About Amado Leather Workshop

    Amado’s main deal is leather. One-day classes for card wallets, passport holders, key fobs, AirPods cases — they have a full menu.
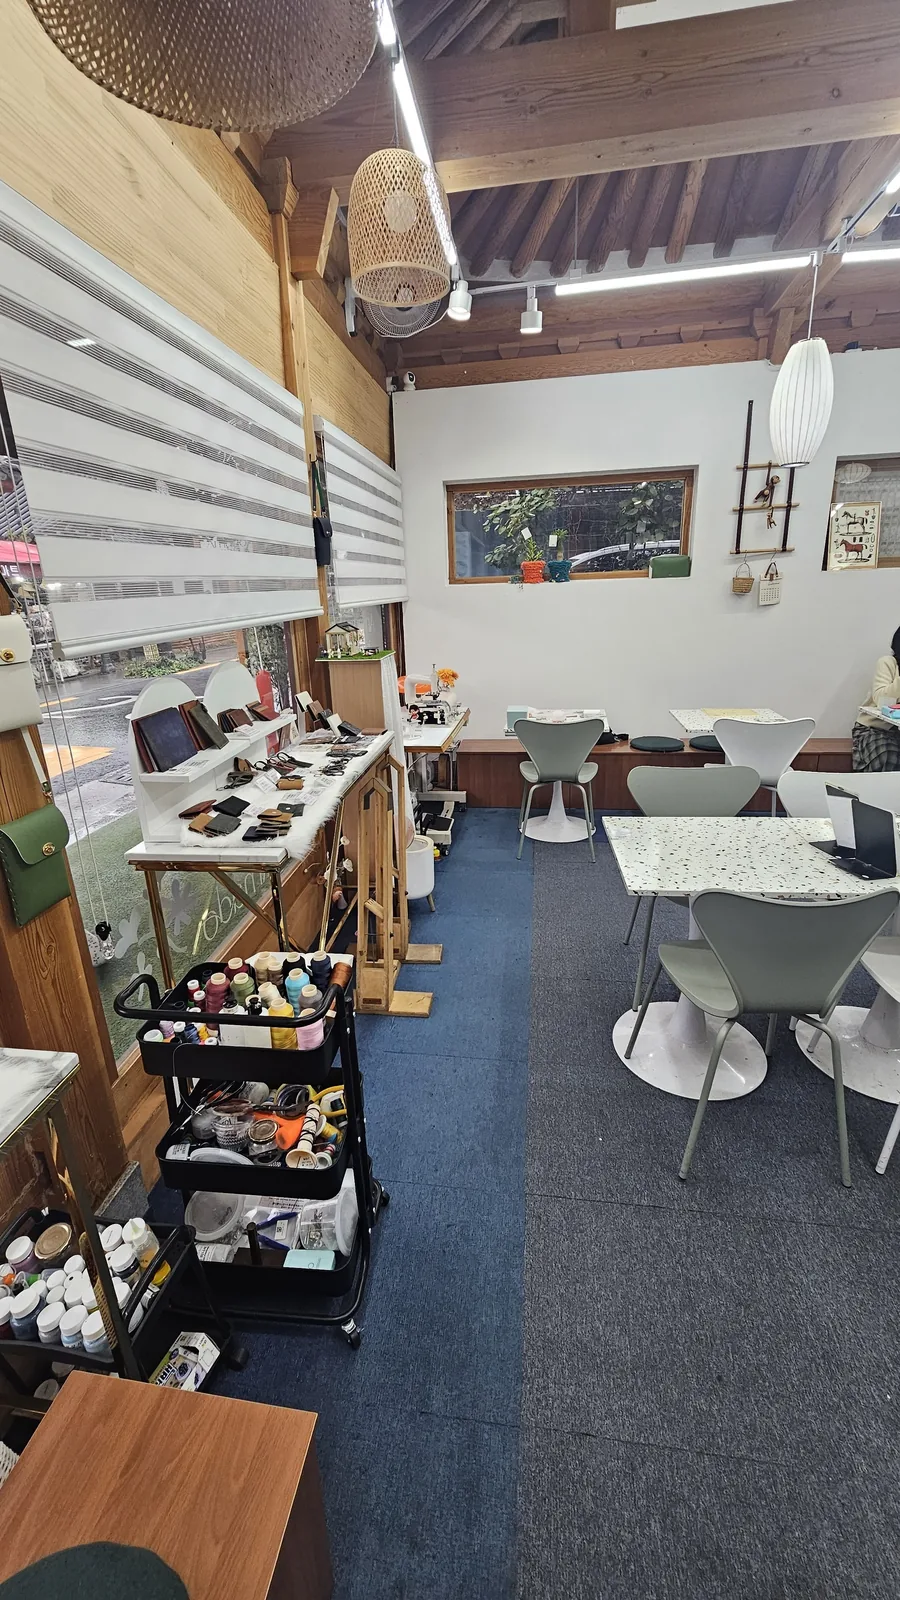
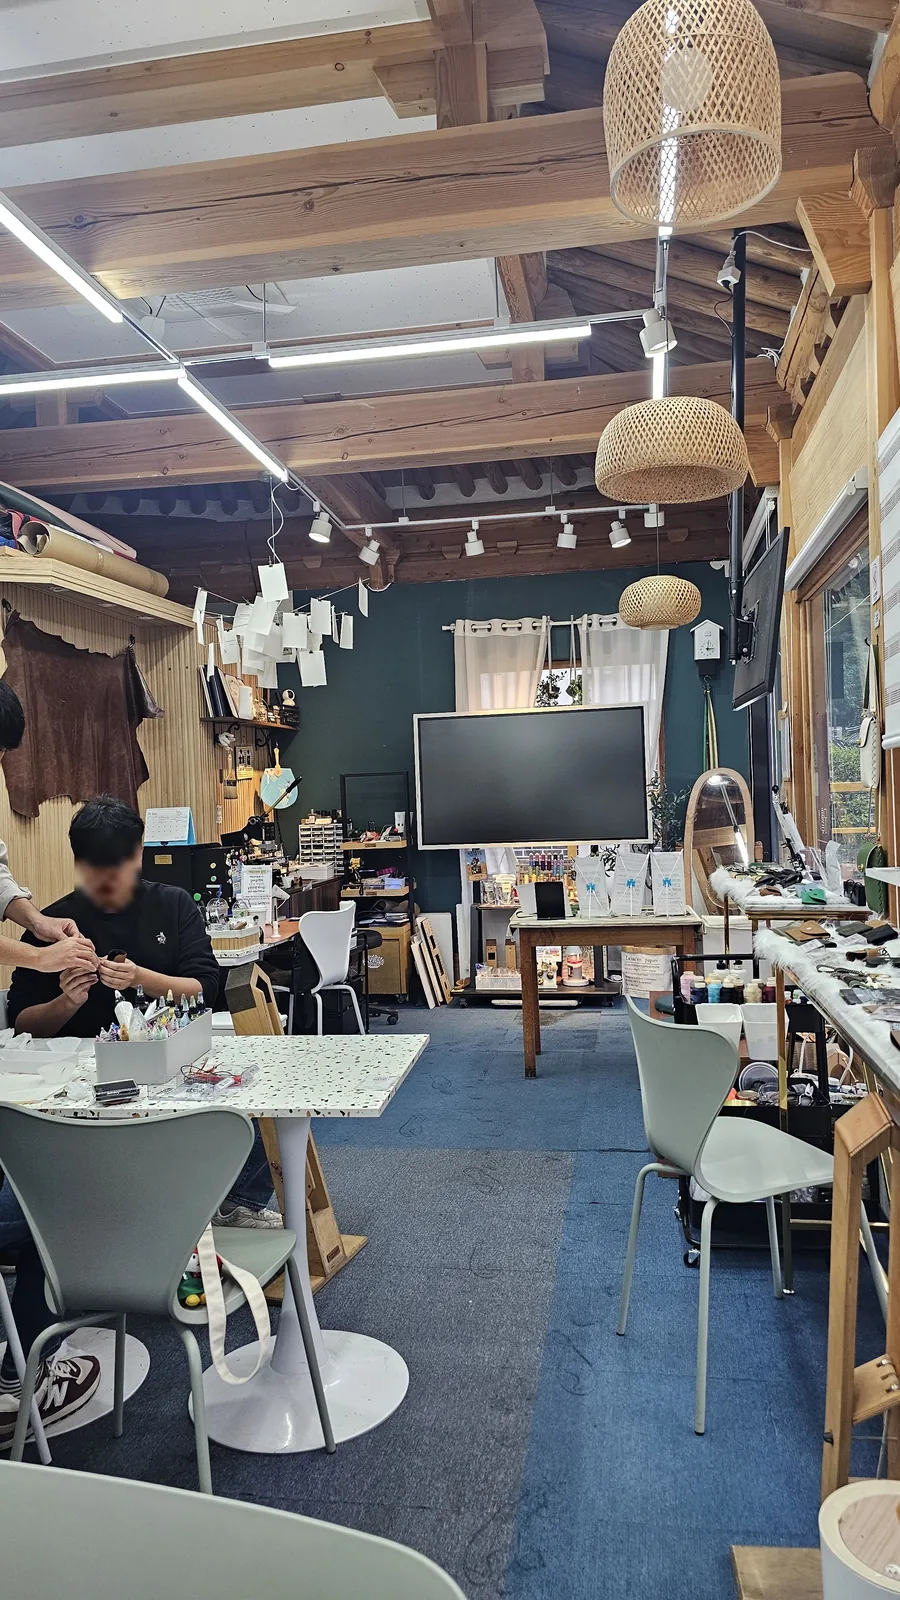
    Wide interior view of Amado Leather Workshop with hanok ceiling, leather worktables, and material cart, person partially visible at right
    Wide interior view of Amado Leather Workshop with hanok ceiling, leather worktables, and material cart, person partially visible at right

    The miniature keyring class is a newer addition, riding the craft experience wave. Smart move — it’s a lower-commitment entry point for tourists who don’t want to spend 90 minutes on a leather wallet.

    The space itself earns points. Traditional hanok wooden ceiling structure, modern terrazzo tabletops, organized materials. Doesn’t feel like a tourist trap in a converted stall — feels like an actual working studio that happens to welcome visitors.
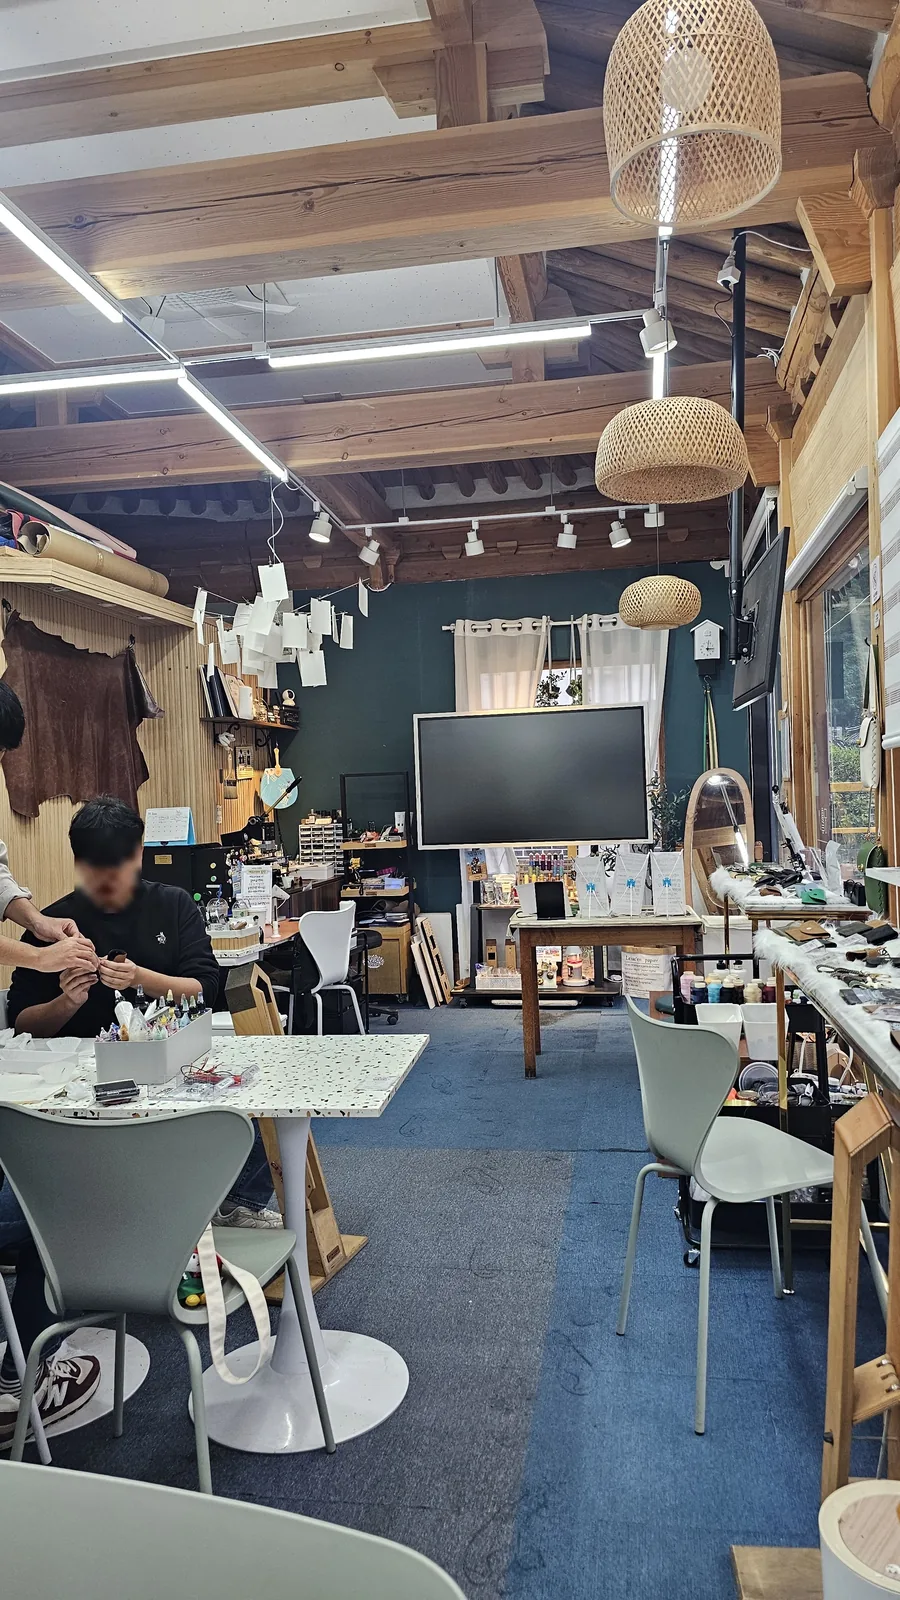
    Interior of Amado Leather Workshop with traditional hanok wooden ceiling, craftsman working at a worktable in the background
    Interior of Amado Leather Workshop with traditional hanok wooden ceiling, craftsman working at a worktable in the background

    Getting There

    Amado is inside Jeonju Hanok Village (전주한옥마을) — the large preserved traditional village in Jeonju city, roughly 2.5 hours south of Seoul by KTX high-speed train.

    If you’re already wandering the village, you’re walking distance. The hanok village is compact — most things are reachable in 15–20 minutes on foot. GPS link: [Google Maps](https://maps.app.goo.gl/NJ2EXppQaSuuZm1s6)

    The Class, Step by Step
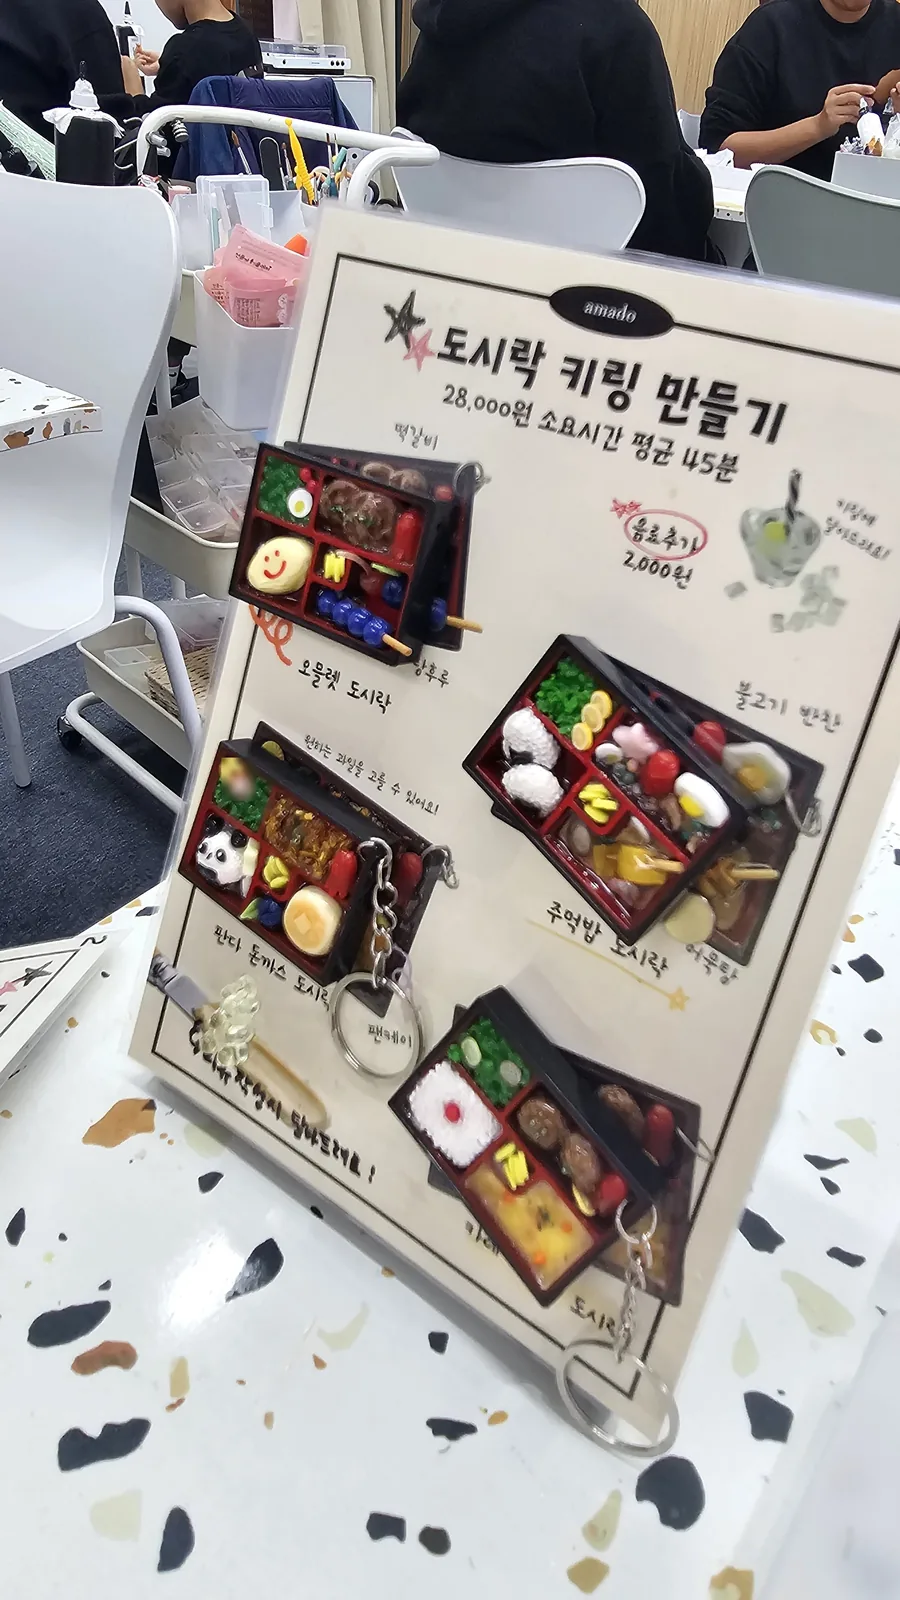
    Menu board for the lunchbox keyring making class at Amado Leather Workshop, priced at 28,000 KRW, approximately 45 minutes
    Menu board for the lunchbox keyring making class at Amado Leather Workshop, priced at 28,000 KRW, approximately 45 minutes

    The menu board shows the lunchbox keyring class at 28,000 KRW (~$21), estimated 45 minutes. You pick a style — options include rice ball (주먹밥), bulgogi, panda donkatsu, among others. I went with the rice ball version.

    Step 1: Empty frame, big tray of tiny things.
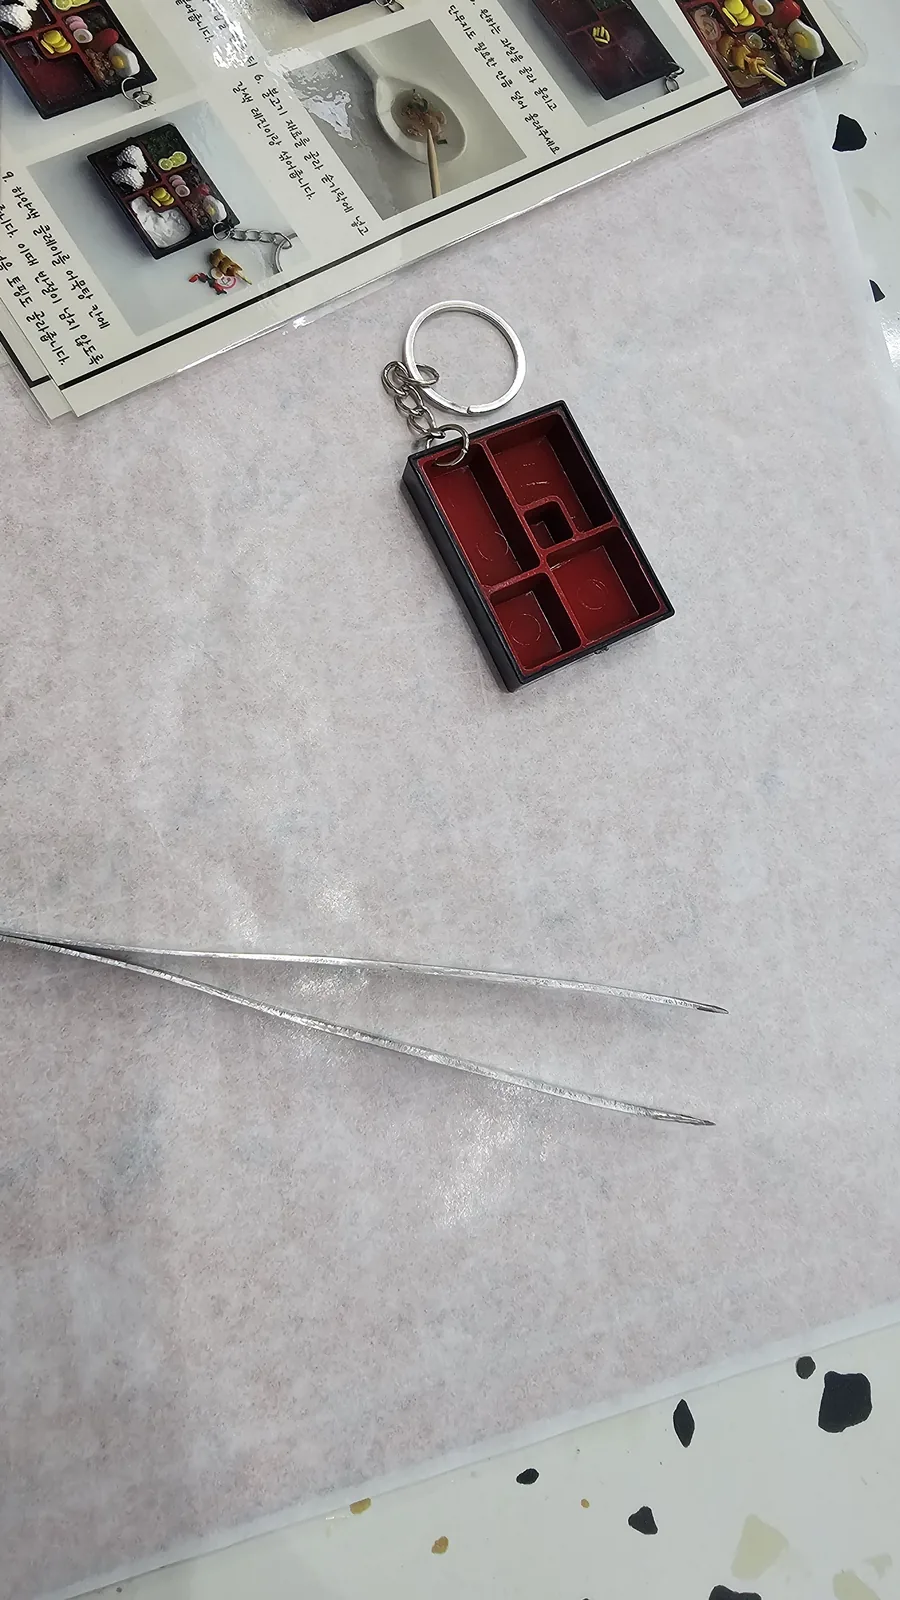
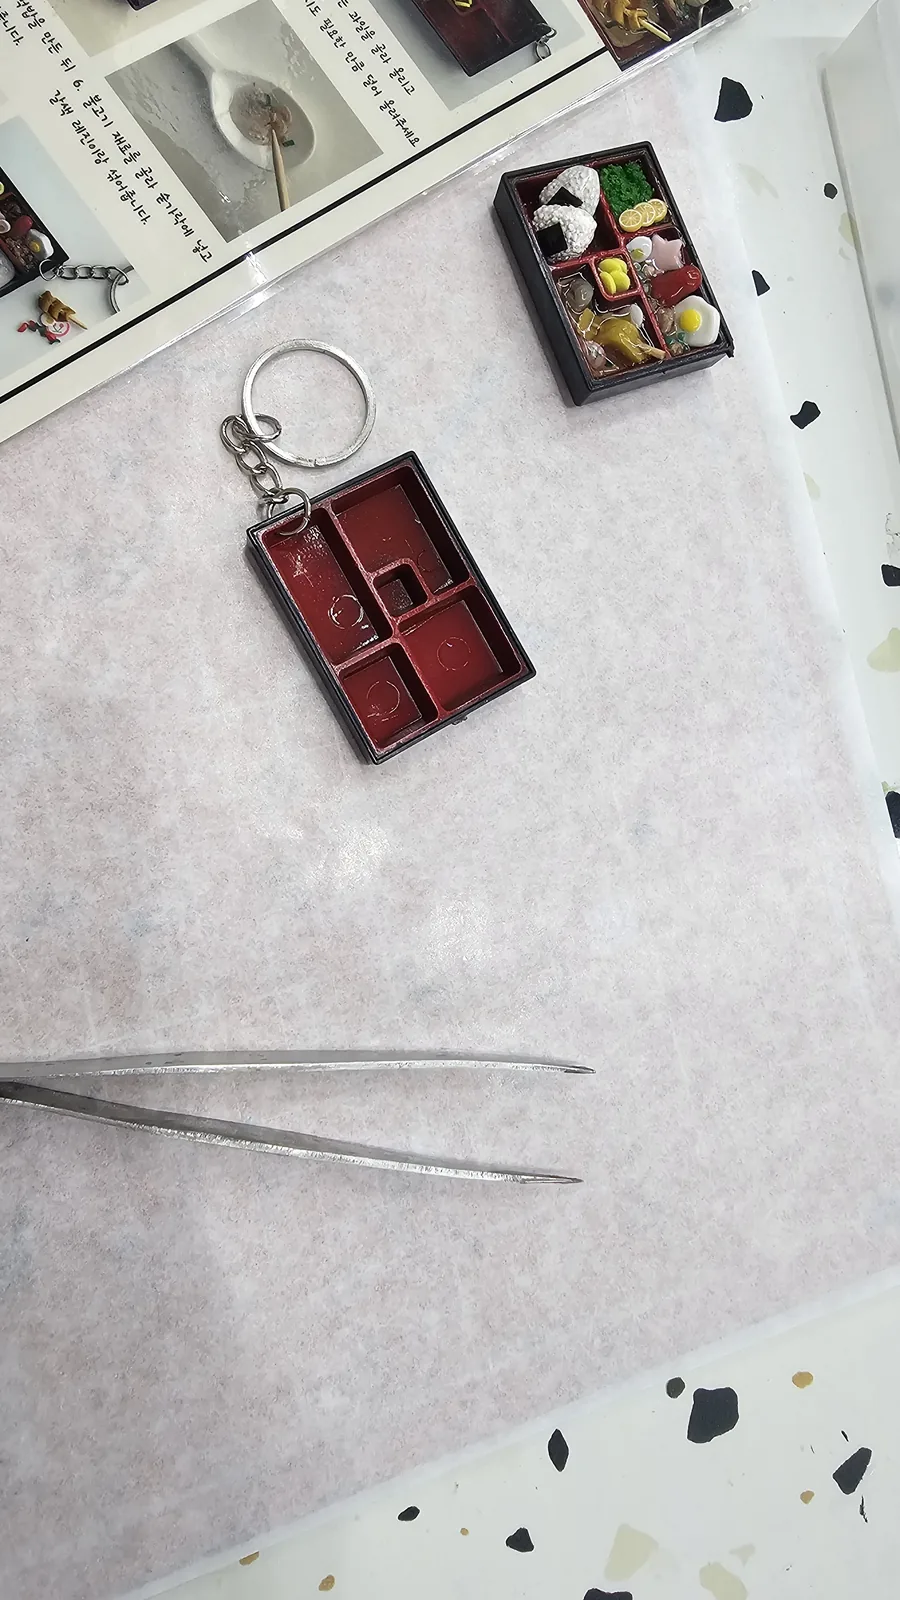
    Empty lunchbox keyring acrylic frame and tweezers on a white table, before the Amado class begins
    Empty lunchbox keyring acrylic frame and tweezers on a white table, before the Amado class begins
    Empty lunchbox keyring frame beside a completed sample keyring with miniature rice balls, tweezers on the side
    Empty lunchbox keyring frame beside a completed sample keyring with miniature rice balls, tweezers on the side

    You get a clear acrylic lunchbox frame, tweezers, and access to a spread of pre-made miniature ingredients. We’re talking pieces that are 3–5mm. Rice balls. Bulgogi meat. Pink fish cake slices. Fried egg. Broccoli. Cherry tomato. Tiny slivers of seaweed.
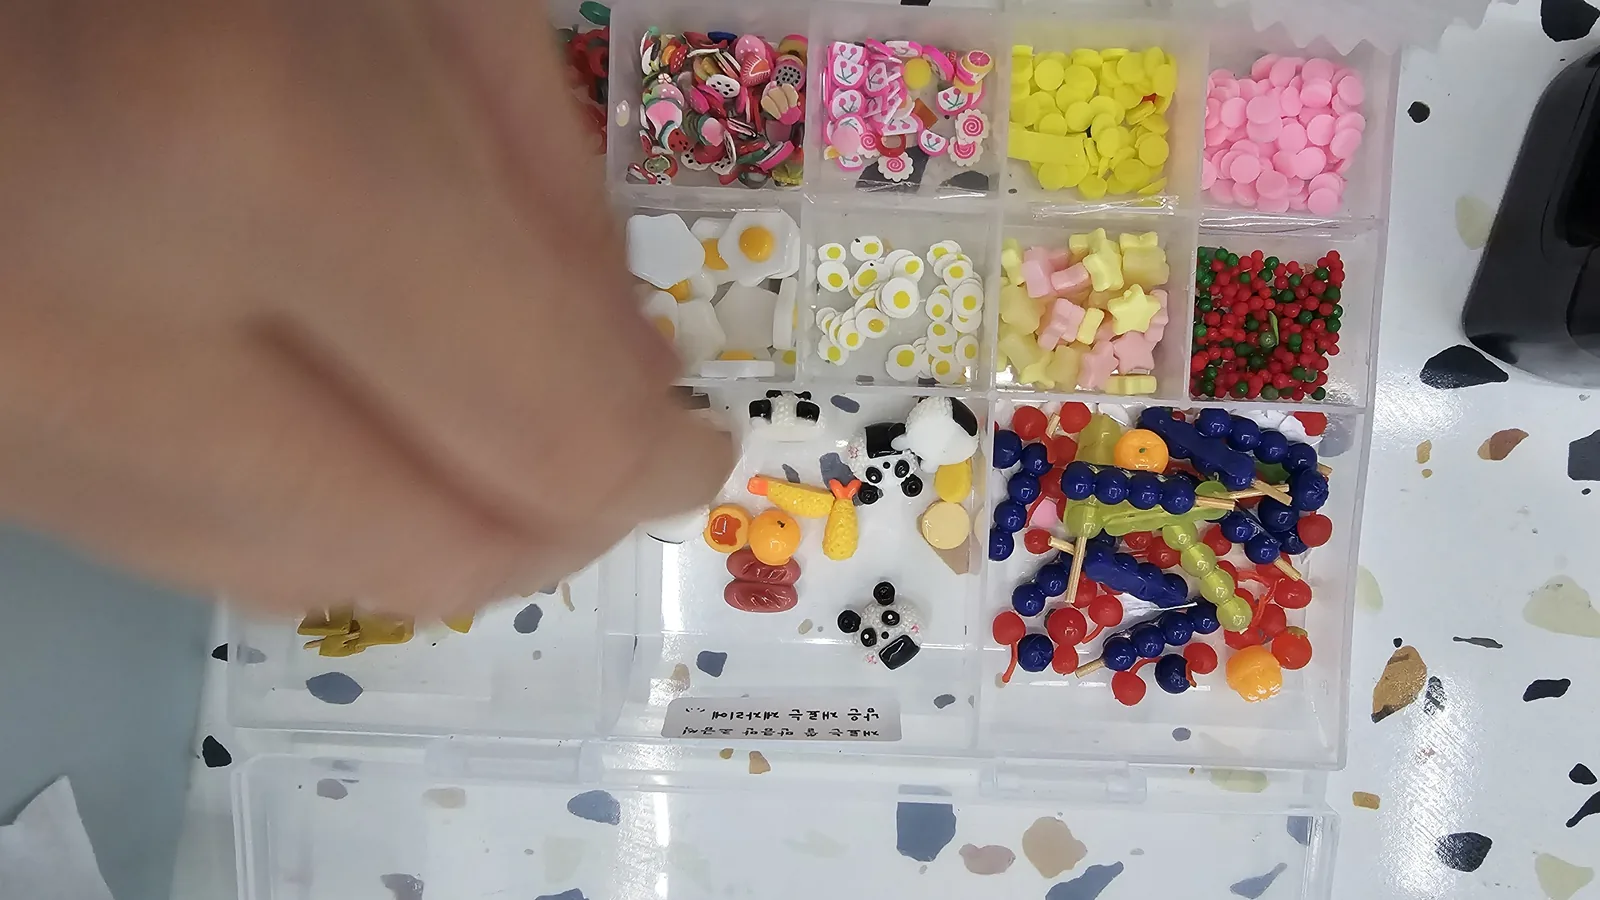
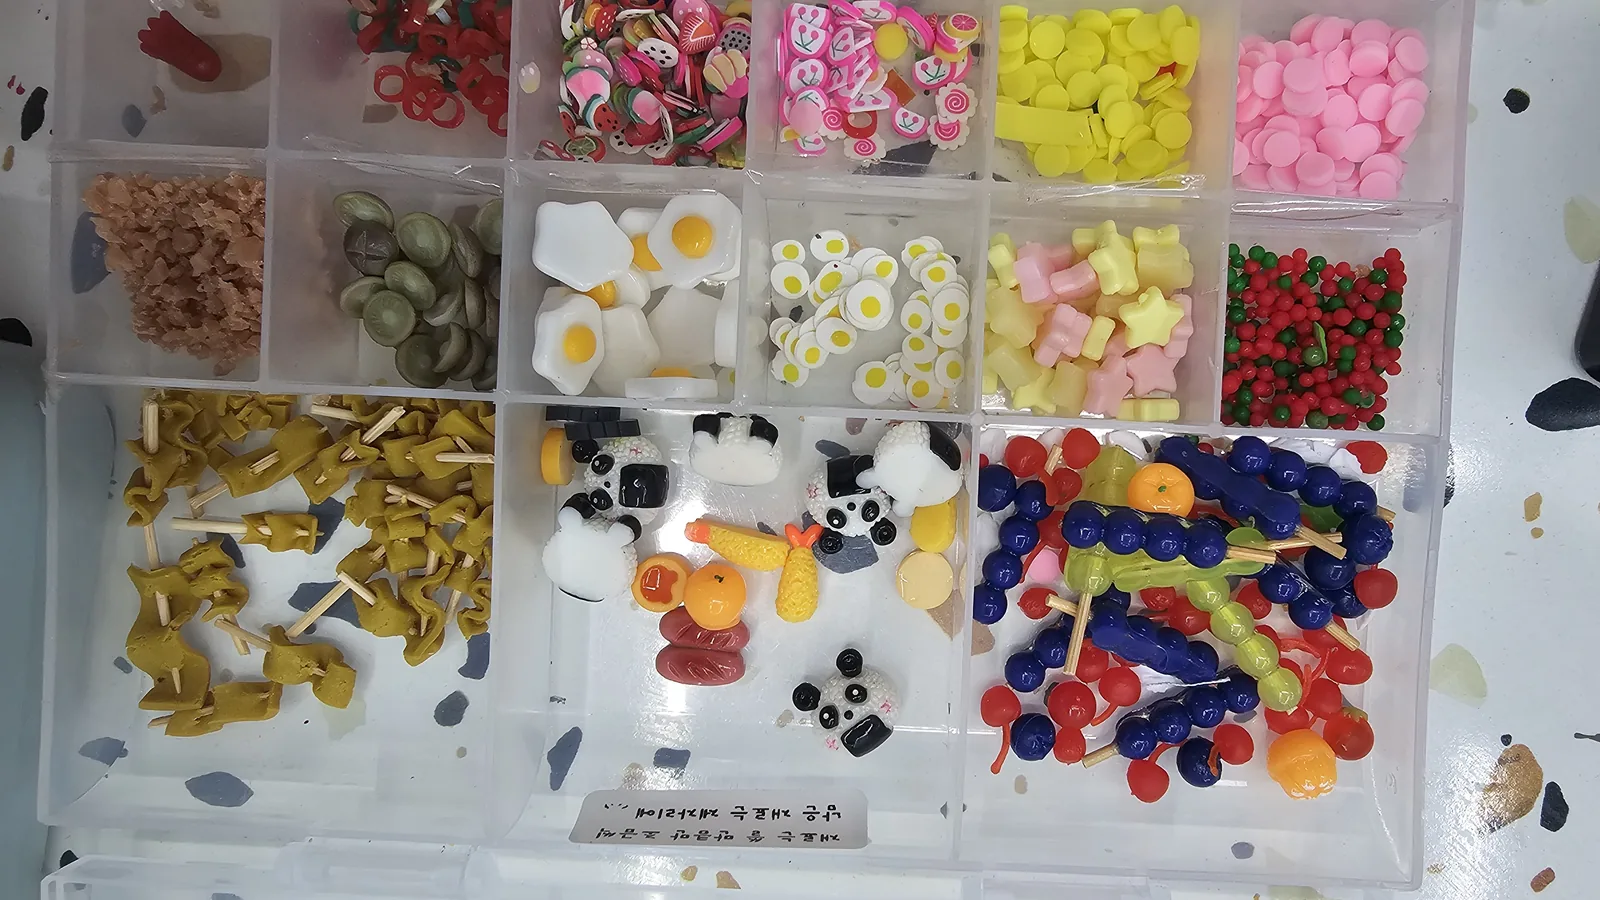
    Close-up of a miniature ingredient box containing tiny egg, bear jelly candy, vegetables, and panda onigiri decorations
    Close-up of a miniature ingredient box containing tiny egg, bear jelly candy, vegetables, and panda onigiri decorations
    Full front view of multiple miniature food ingredient boxes at Amado Leather Workshop, organized by ingredient type
    Full front view of multiple miniature food ingredient boxes at Amado Leather Workshop, organized by ingredient type

    There’s a completed sample keyring to reference throughout. The instructor demonstrates the whole process first.

    Step 2: Instructor walkthrough.
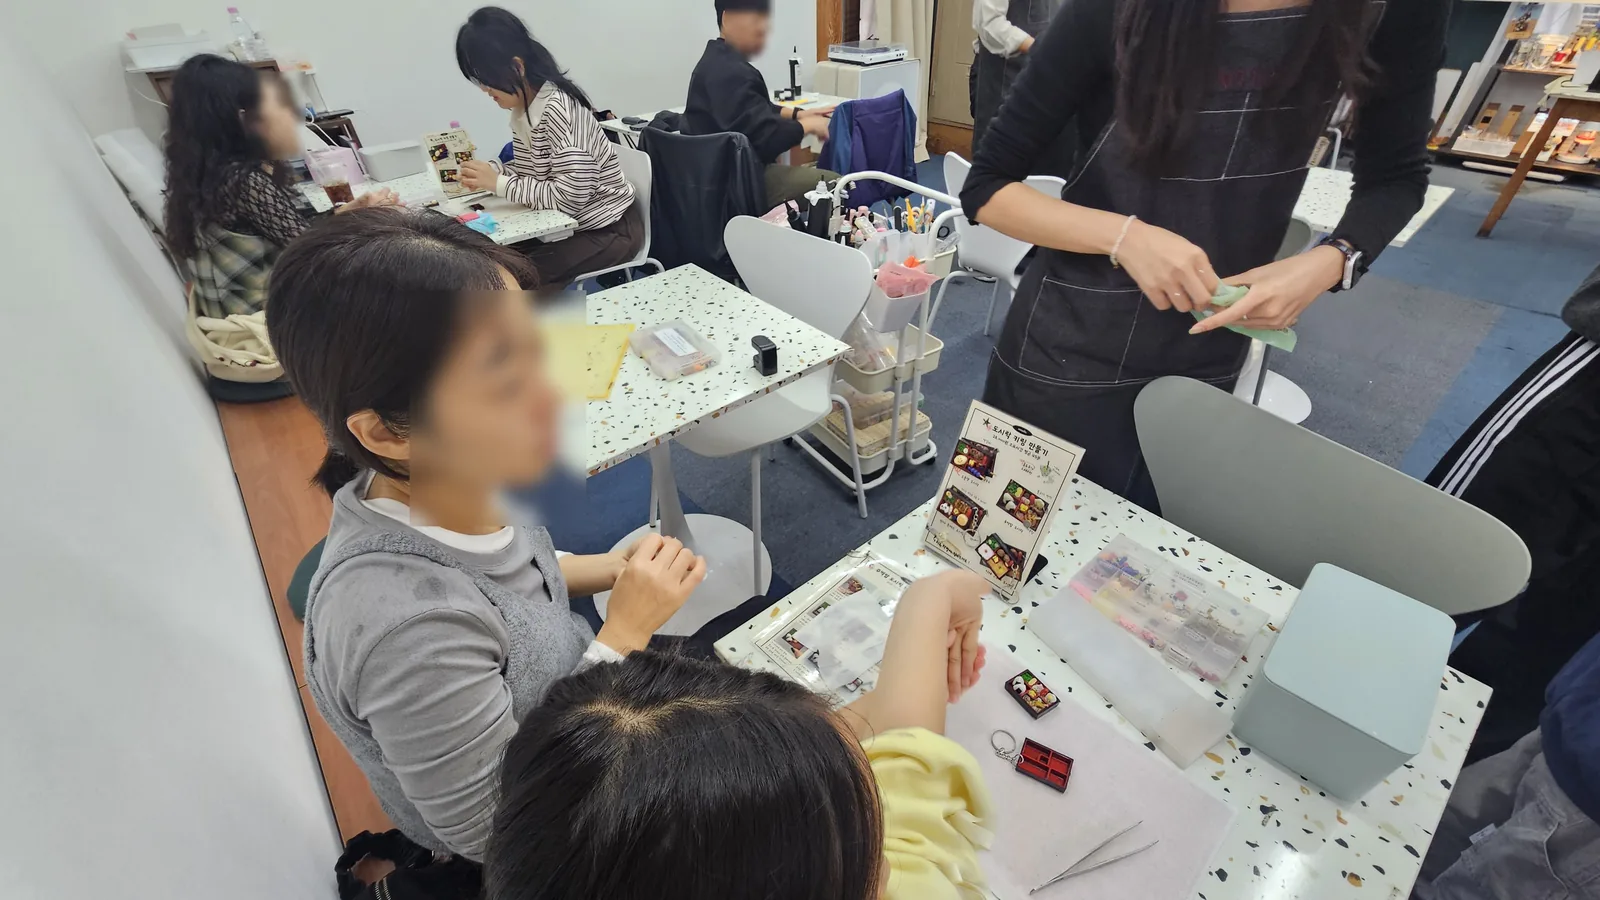
    Instructor at Amado Leather Workshop explaining the process to participants, overhead view of the craft worktable
    Instructor at Amado Leather Workshop explaining the process to participants, overhead view of the craft worktable

    Short demonstration, then you start. No previous craft experience needed — the technique is approachable. The instructor is around to answer questions as you work.

    Step 3: Make the rice balls, fill the box.
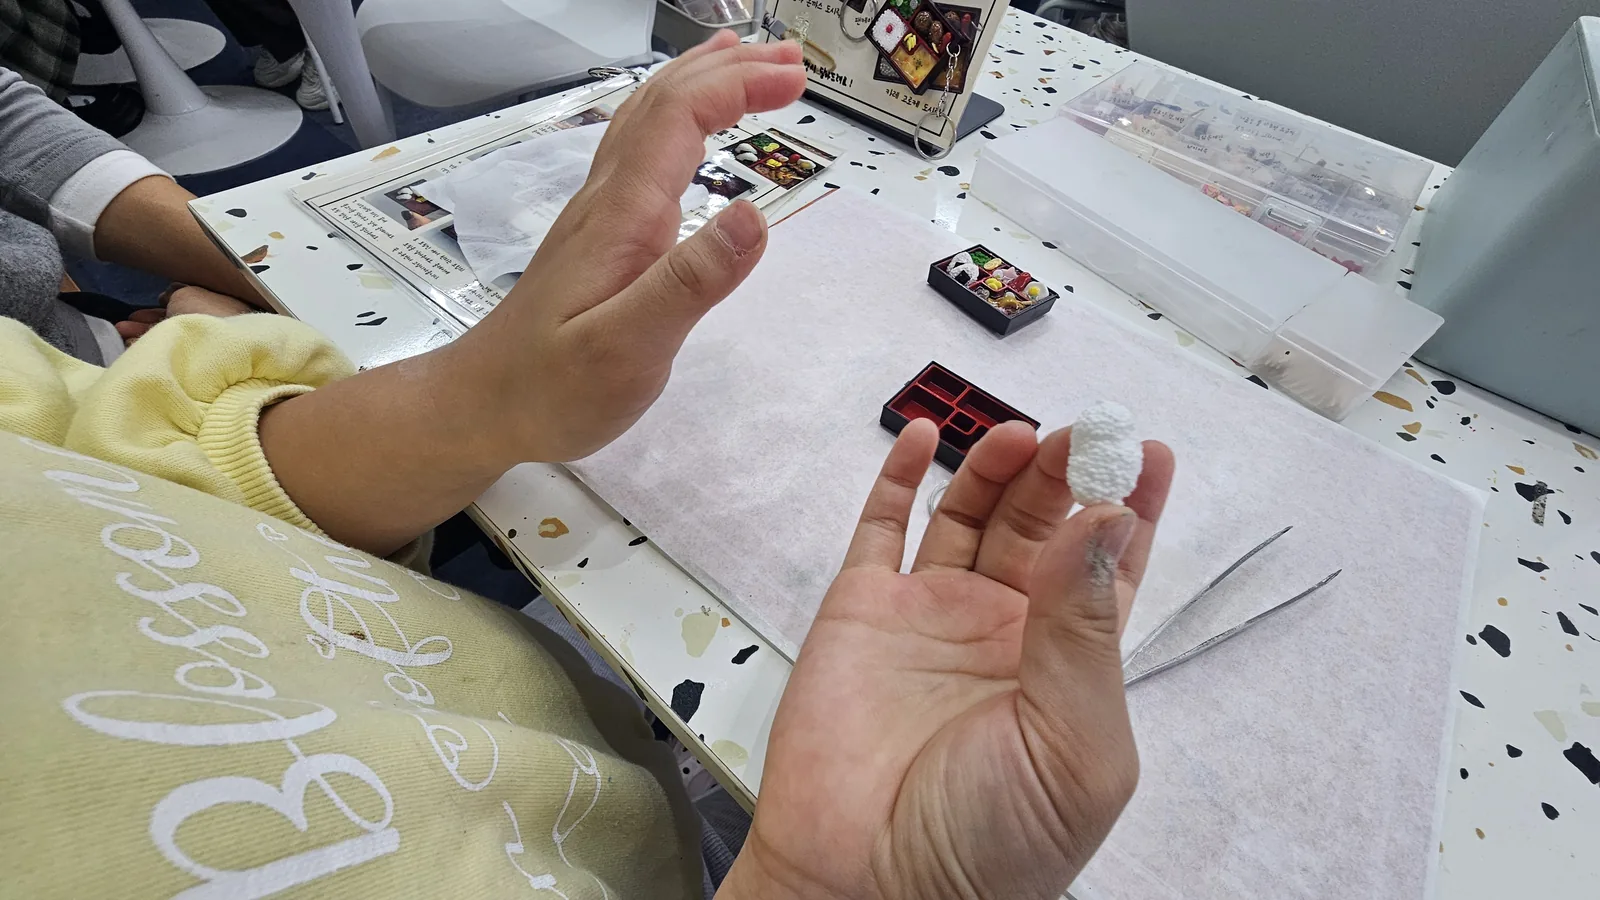
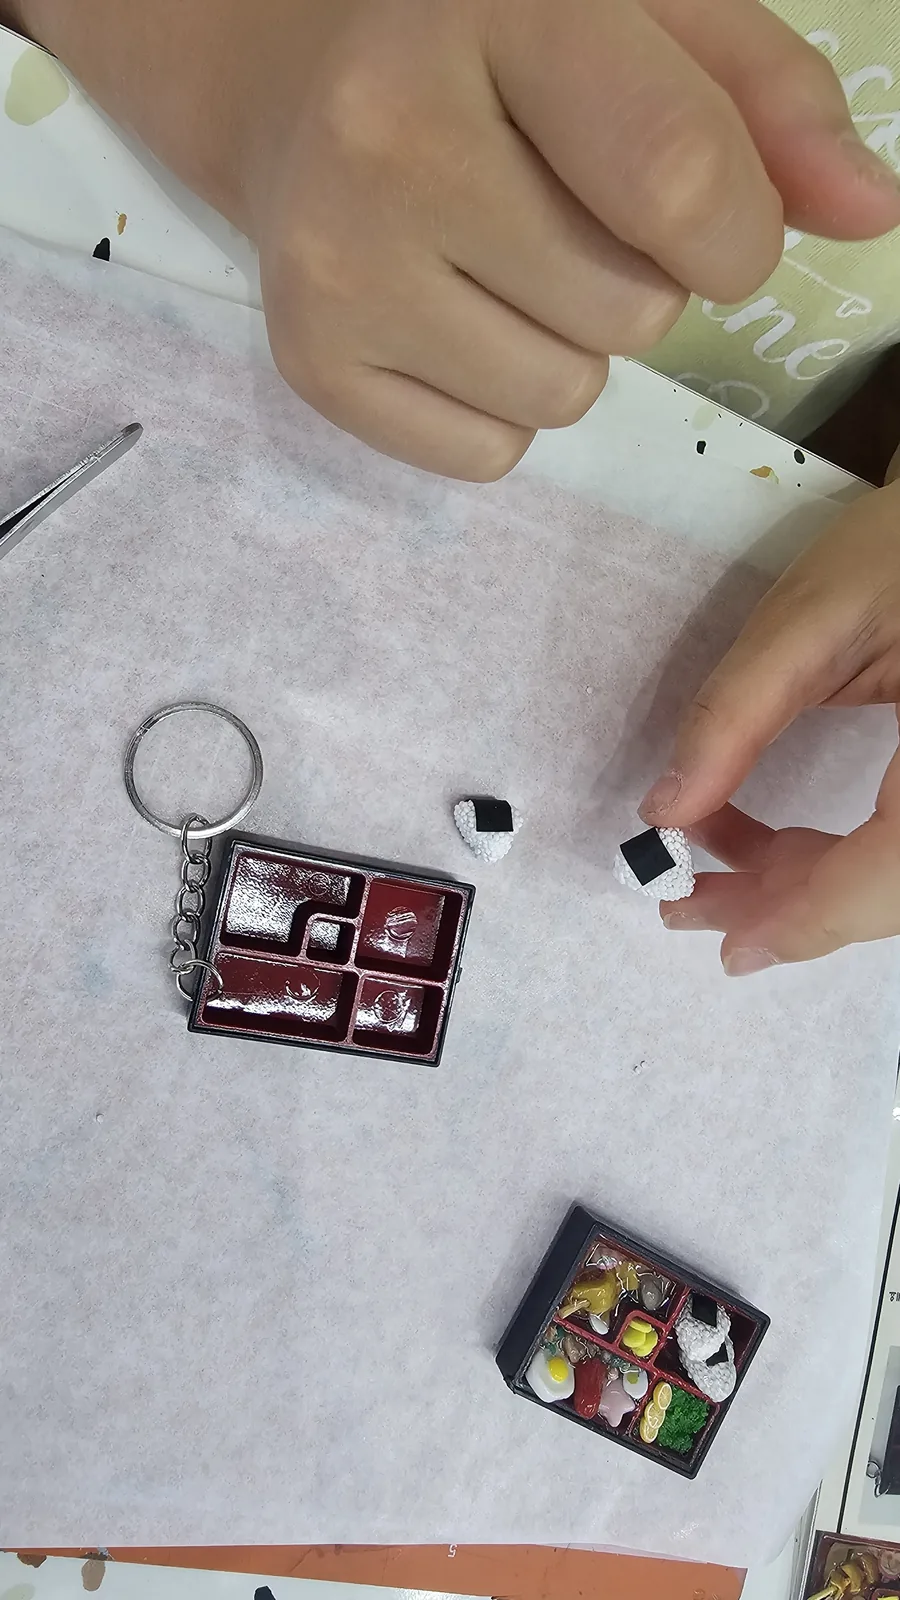
    Hands holding a small white clay piece shaped like a miniature rice ball (onigiri) during the keyring class
    Hands holding a small white clay piece shaped like a miniature rice ball (onigiri) during the keyring class
    Hands placing a white clay rice ball into the lunchbox keyring frame, with a completed sample nearby
    Hands placing a white clay rice ball into the lunchbox keyring frame, with a completed sample nearby
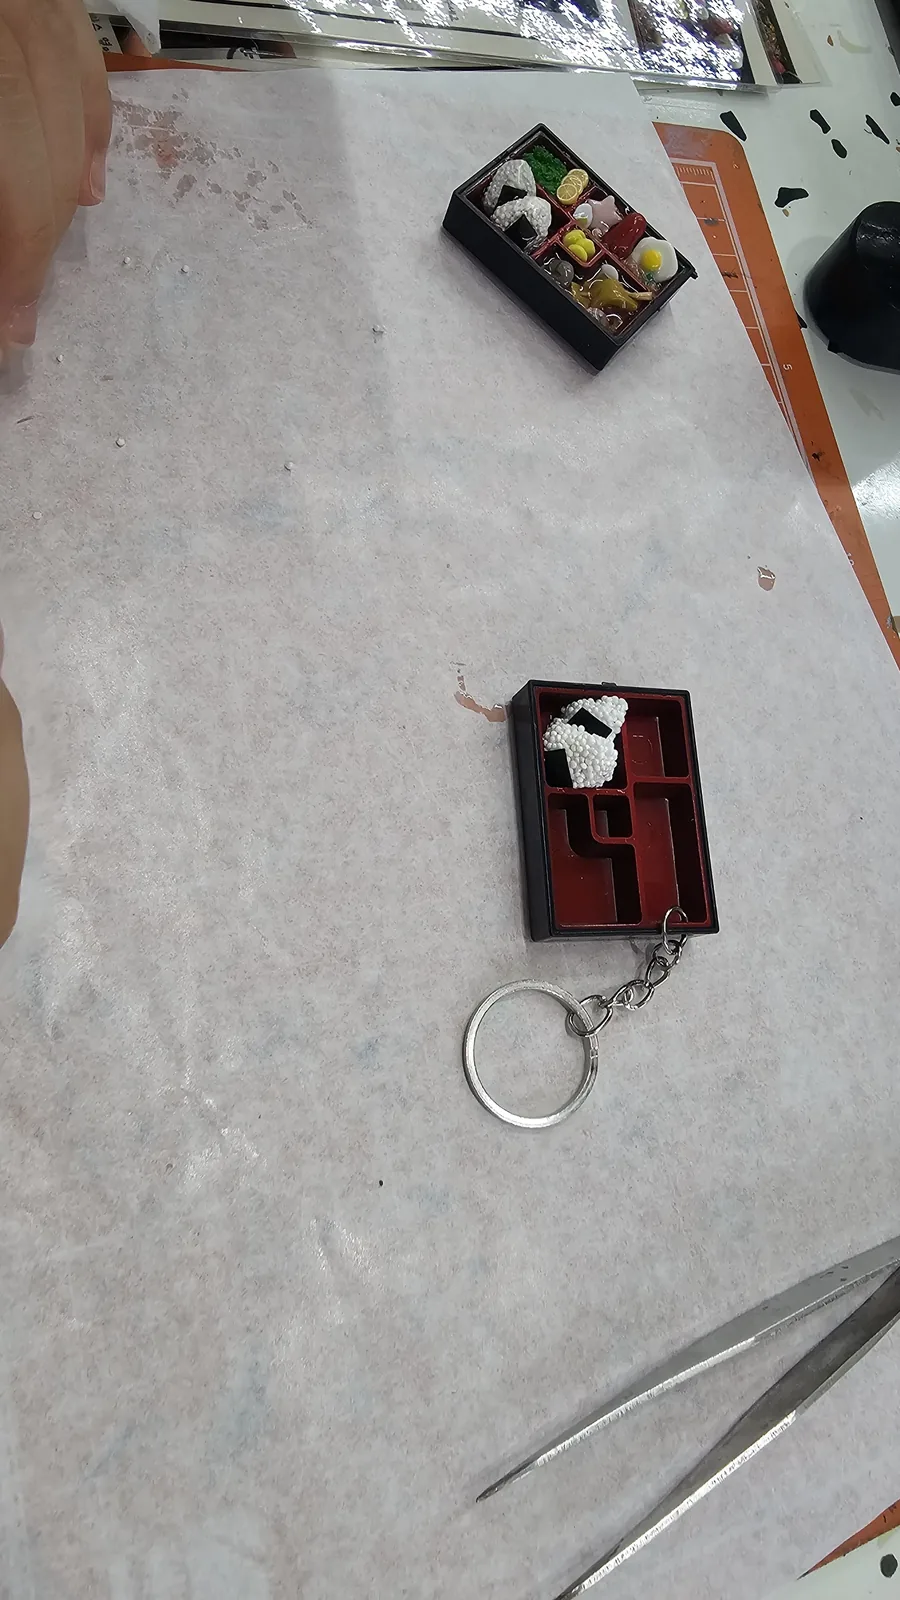
    Mid-progress lunchbox keyring with one clay rice ball placed inside the acrylic frame
    Mid-progress lunchbox keyring with one clay rice ball placed inside the acrylic frame

    The rice ball shape is the main hands-on clay part — you roll it into shape and set it in the frame. After that, it’s mostly placement work: layer in the bulgogi, tuck in the fish cake, add the vegetables.
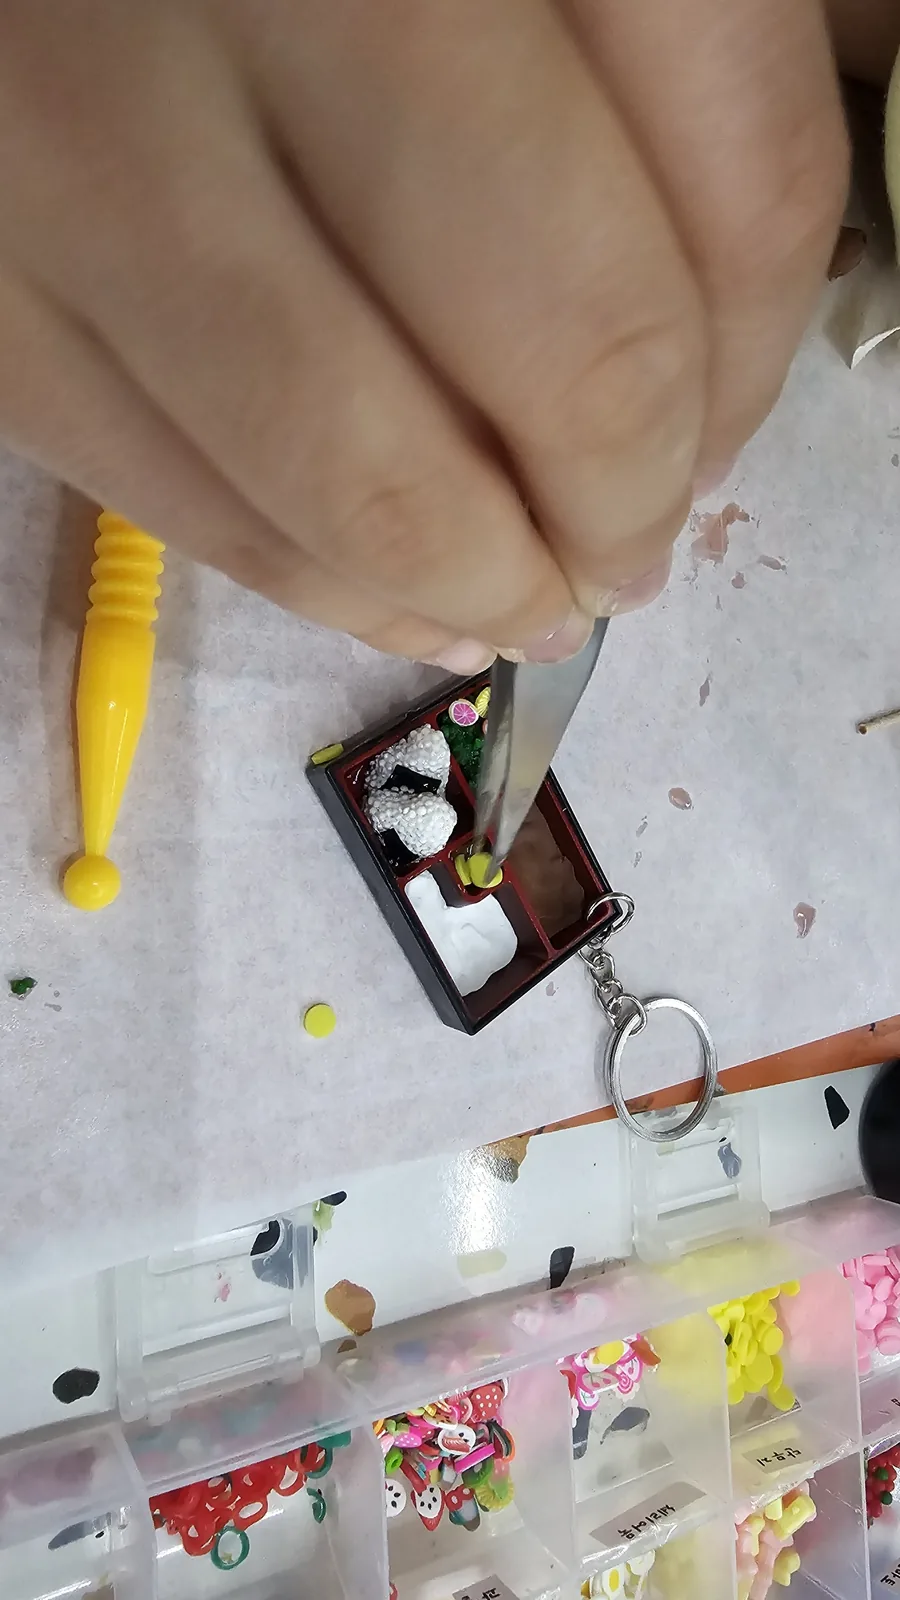
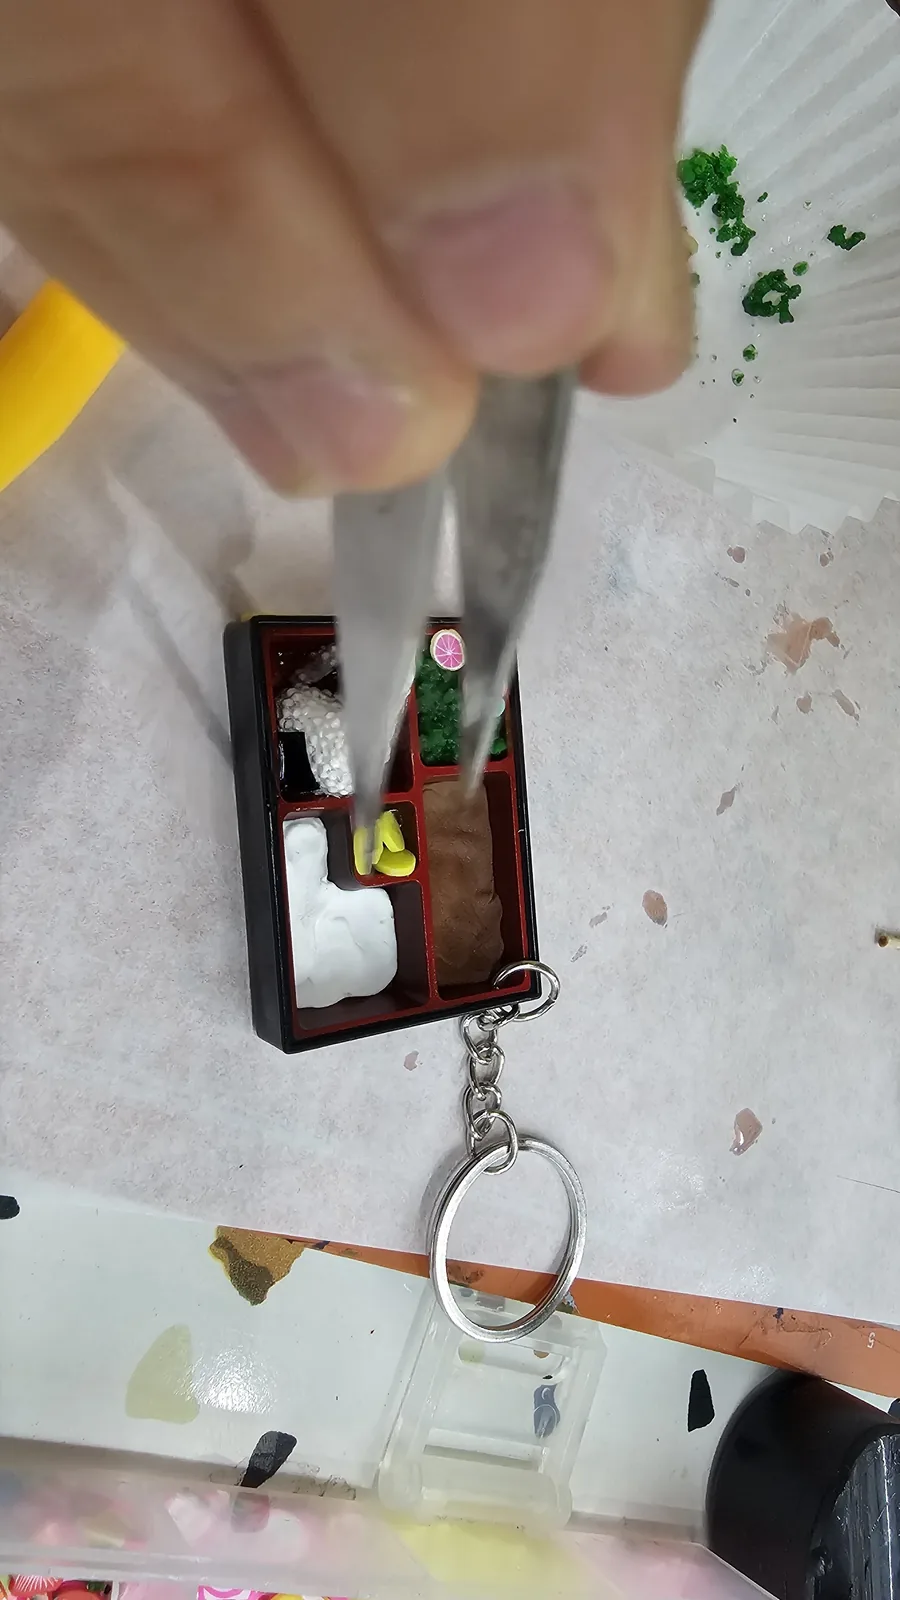
    Tweezers carefully placing miniature food pieces into the lunchbox keyring, miniature ingredient boxes below
    Tweezers carefully placing miniature food pieces into the lunchbox keyring, miniature ingredient boxes below
    Close-up of lunchbox keyring with tweezers placing pink fish cake (eomuk) slices, rice ball and broccoli already in place
    Close-up of lunchbox keyring with tweezers placing pink fish cake (eomuk) slices, rice ball and broccoli already in place
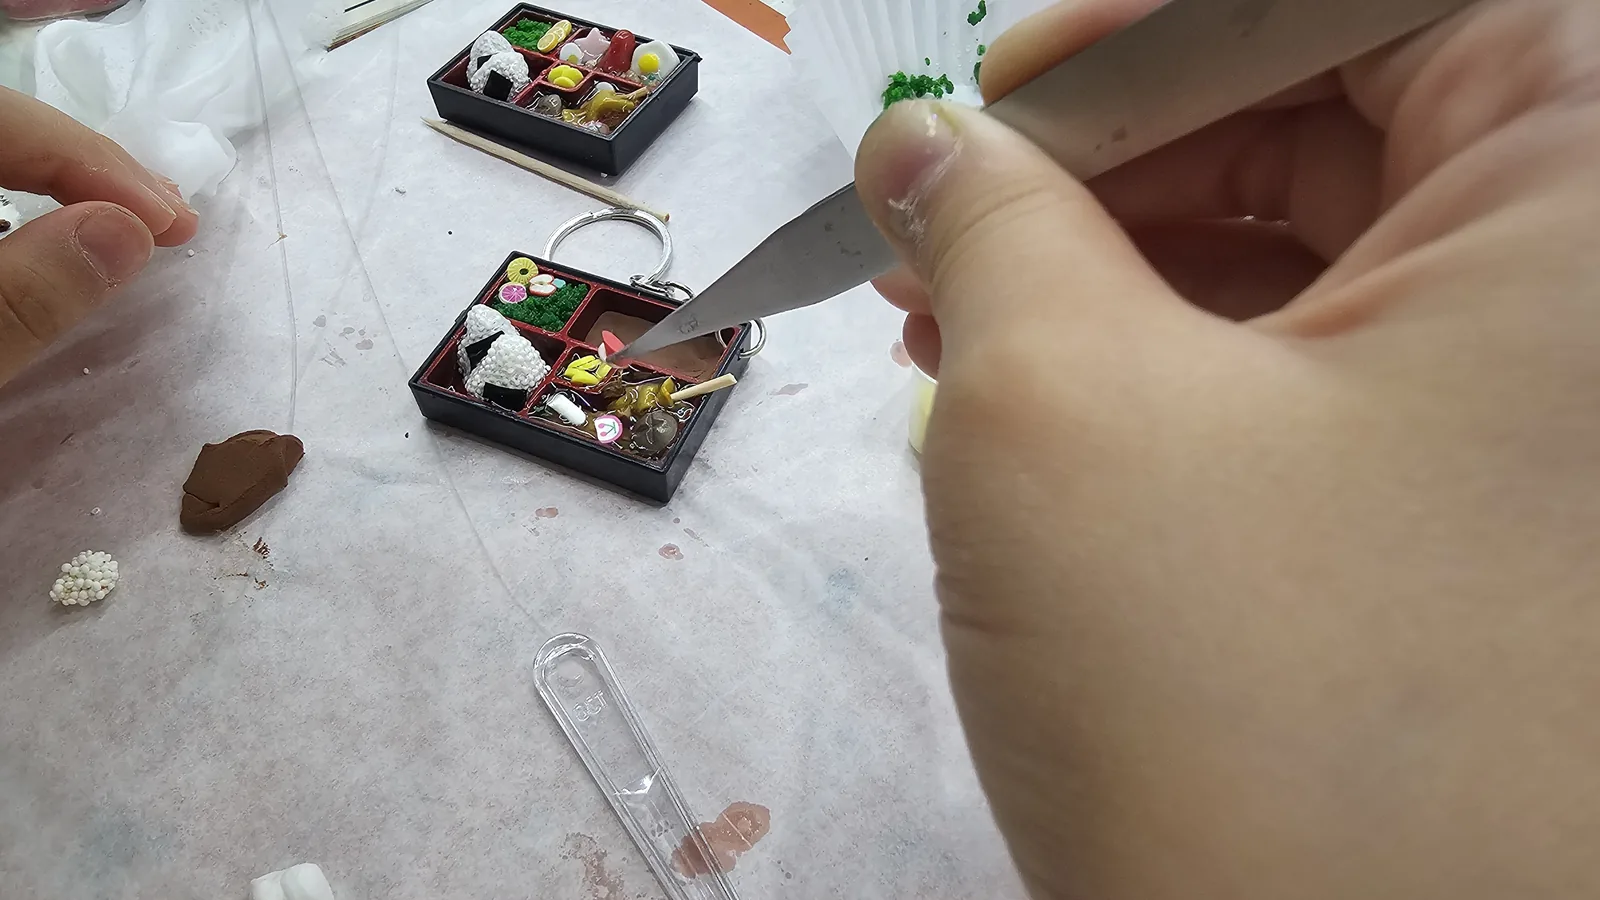
    Tweezers adding small brown bulgogi meat pieces into the lunchbox keyring, completed sample keyring beside it
    Tweezers adding small brown bulgogi meat pieces into the lunchbox keyring, completed sample keyring beside it

    The tweezers are not optional. Some of these pieces are genuinely tiny. Trying to place a 3mm fish cake slice by hand is a losing proposition.

    Step 4: UV resin for the sauces.

    This was the most satisfying part of the whole thing.

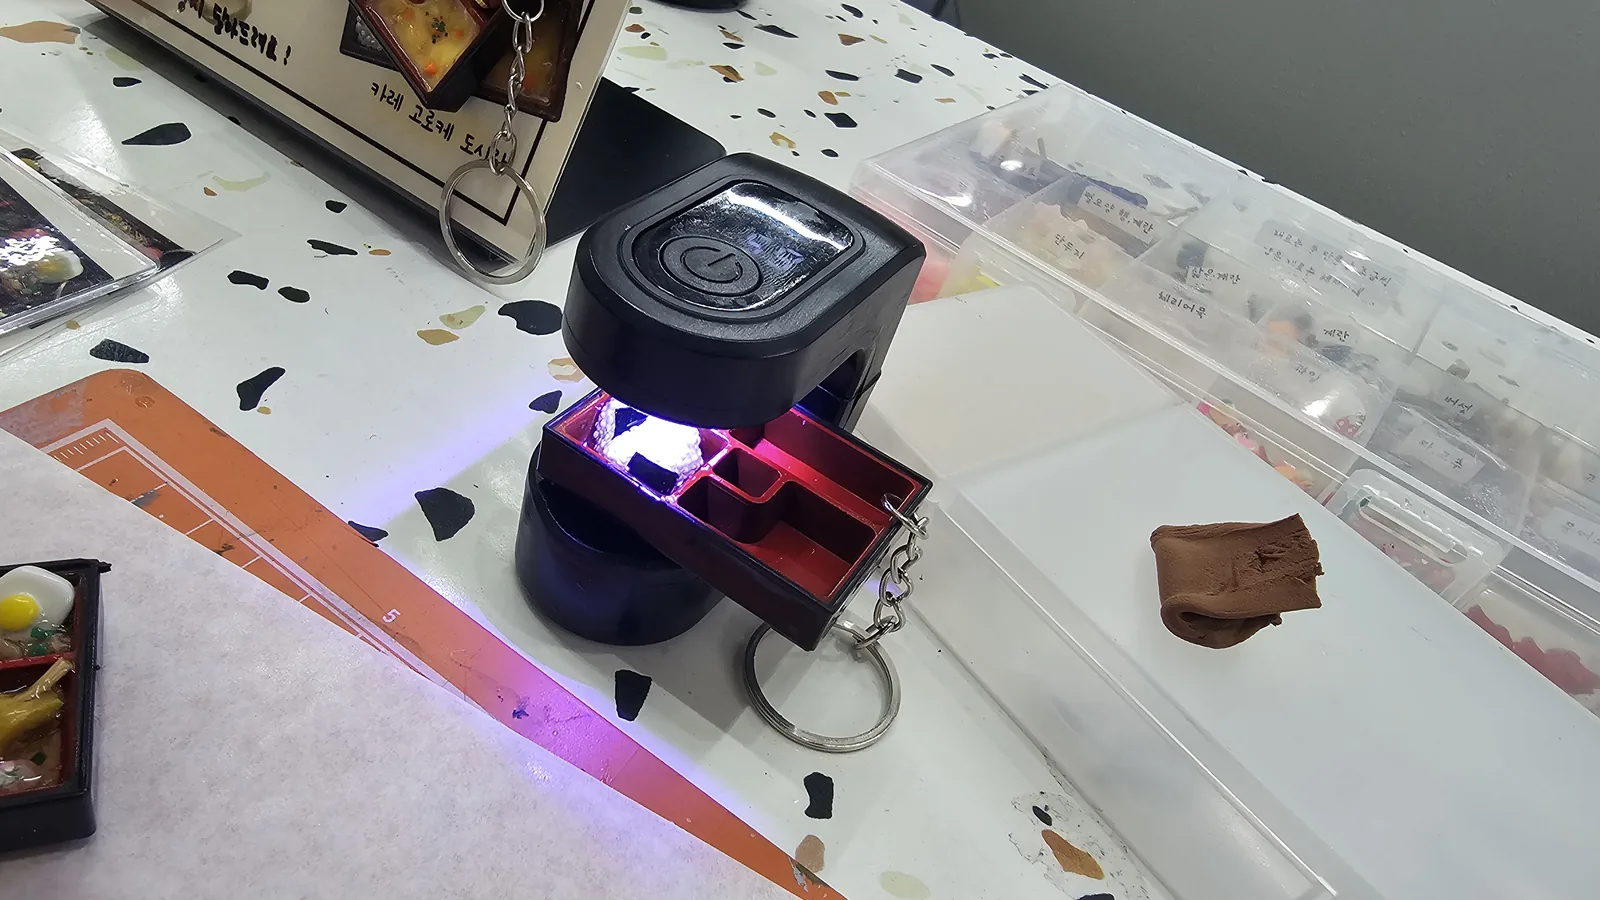
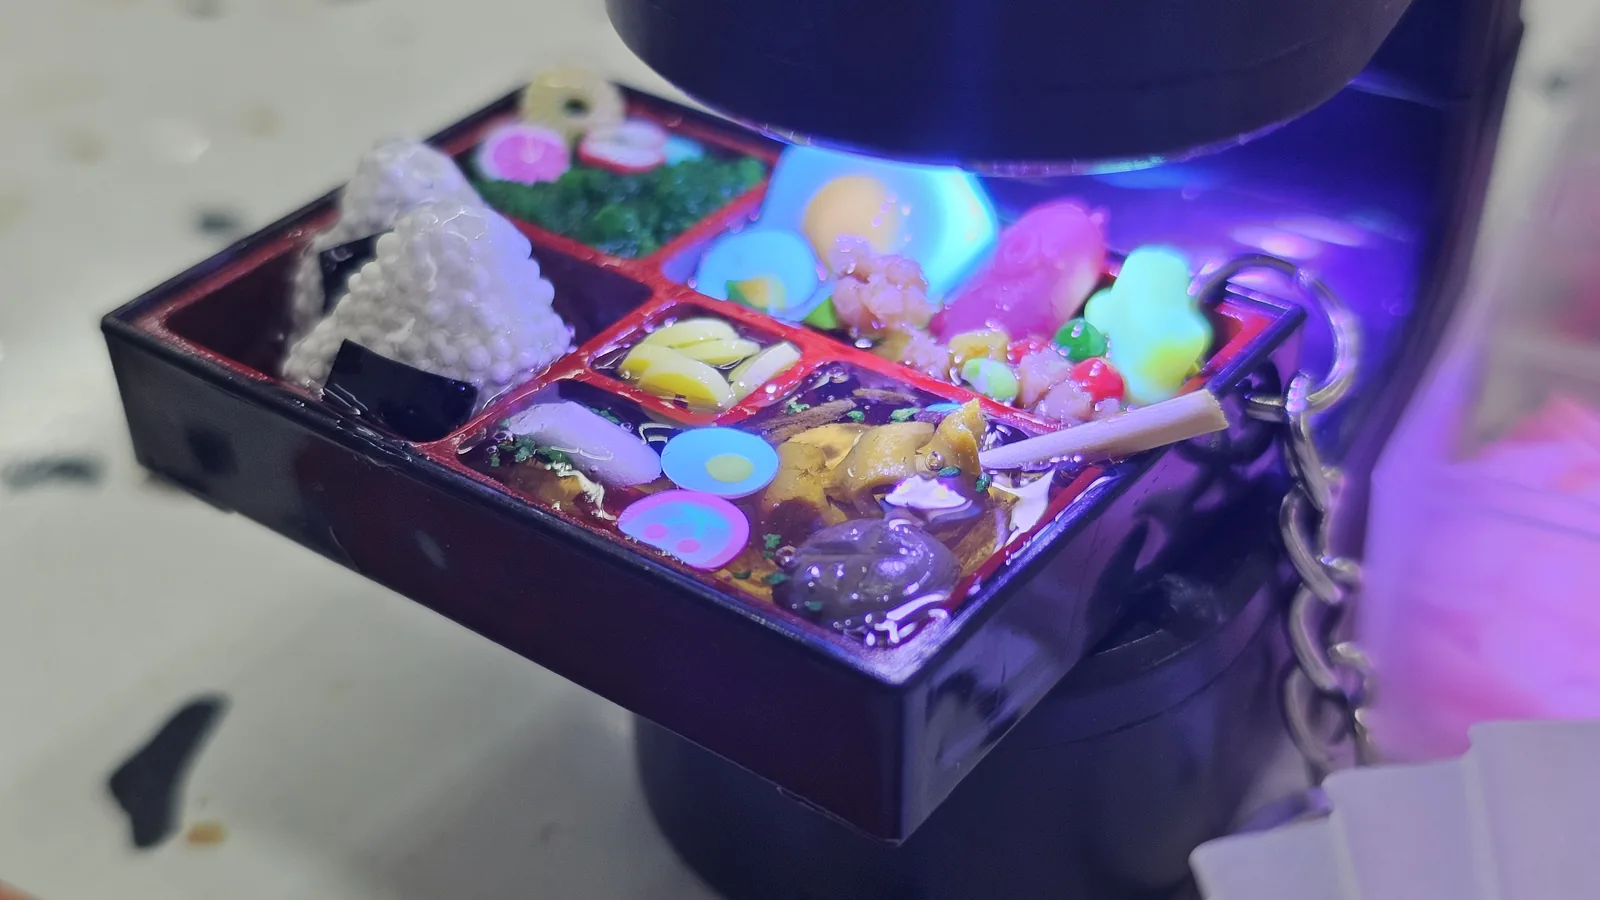
    You mix UV resin — a clear liquid that hardens under UV light — with tiny ingredient pieces and brown colorant to create a miniature sauce pool. Basically, you’re making a small puddle of bulgogi sauce in one corner of the lunchbox. You stir it in a clear spoon, pour it in, then hold the keyring under a UV lamp for about 30–60 seconds.
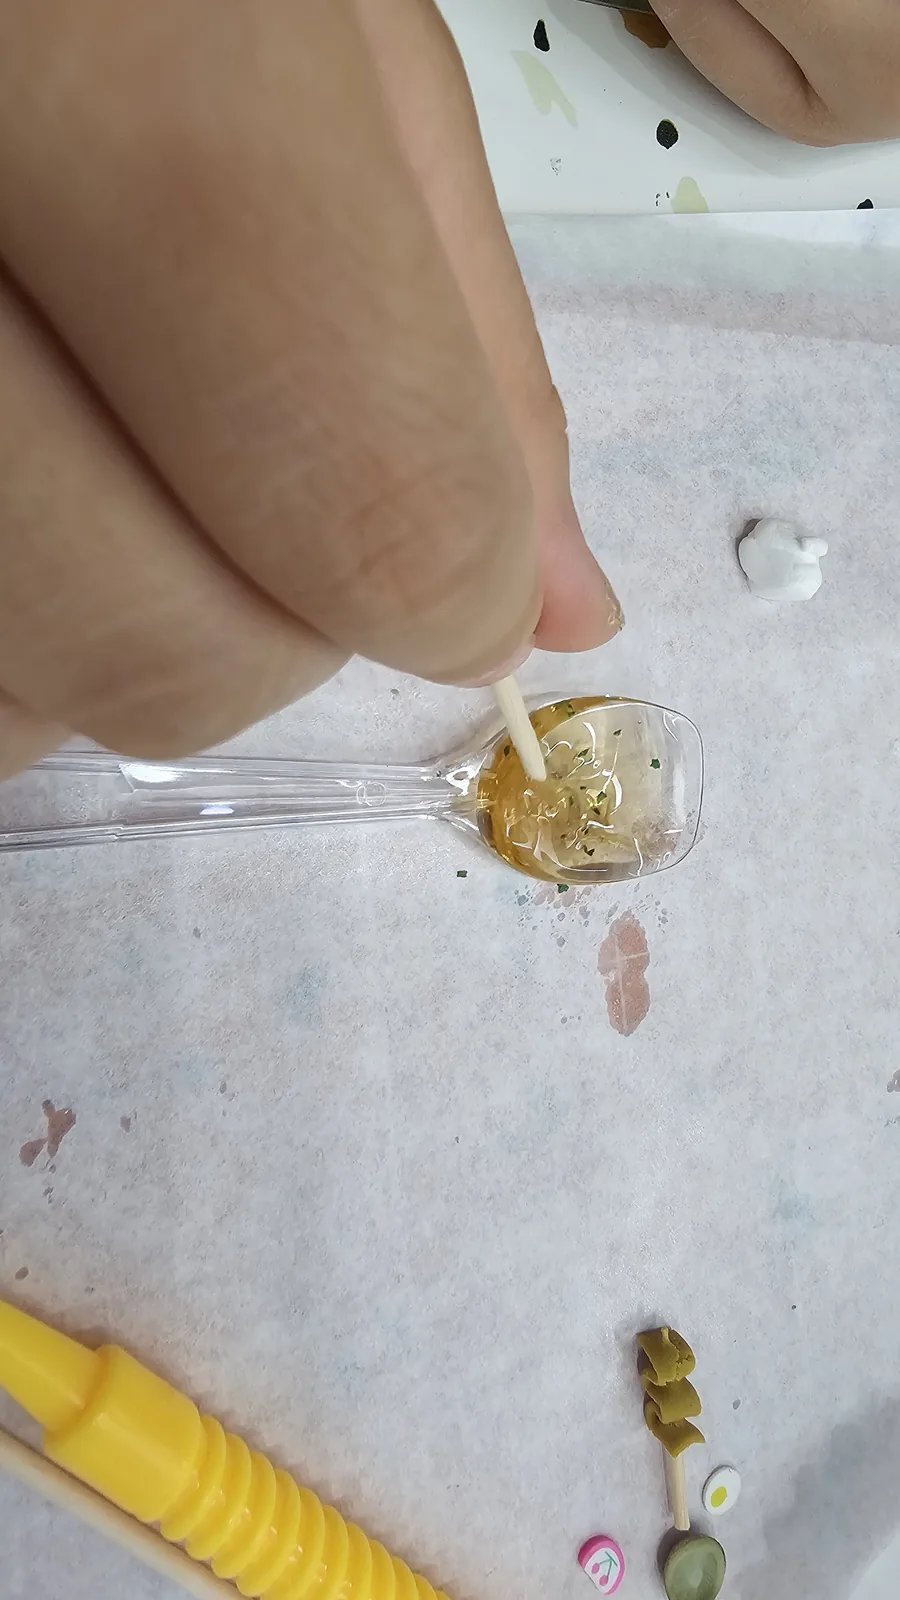
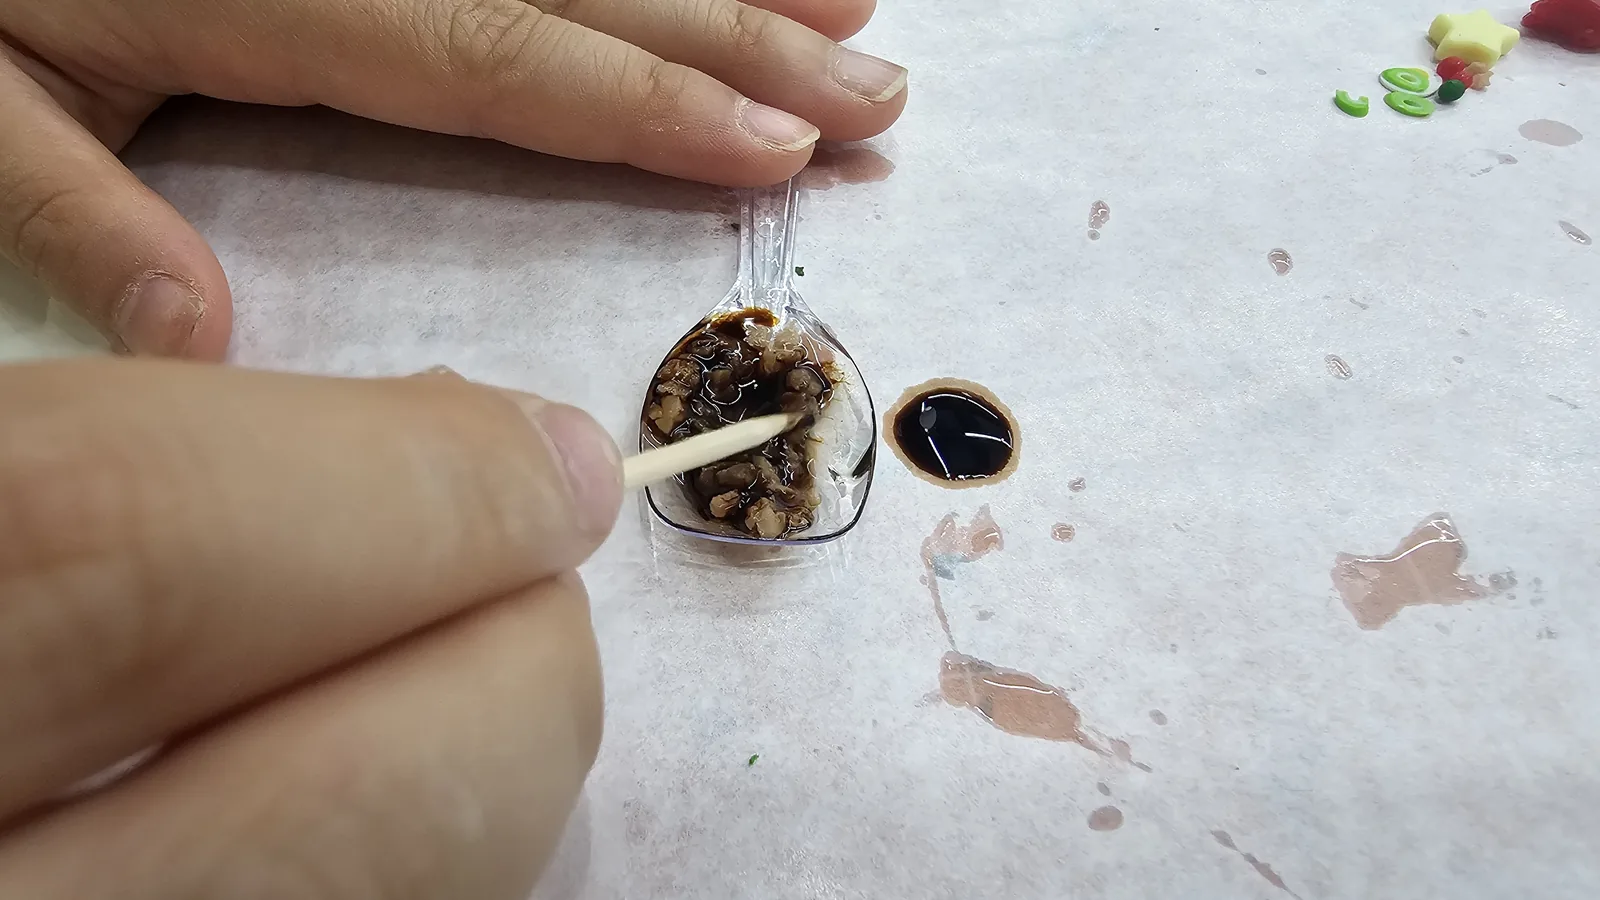
    Hands stirring golden UV resin in a clear spoon to make miniature sauce for the lunchbox keyring
    Hands stirring golden UV resin in a clear spoon to make miniature sauce for the lunchbox keyring
    Mixing brown UV resin with small ingredient pieces in a clear spoon to create miniature bulgogi sauce
    Mixing brown UV resin with small ingredient pieces in a clear spoon to create miniature bulgogi sauce
    UV lamp curing the lunchbox keyring resin at Amado Leather Workshop, ingredient jars visible in background
    UV lamp curing the lunchbox keyring resin at Amado Leather Workshop, ingredient jars visible in background
    Lunchbox keyring glowing under purple-blue UV lamp light during the resin curing step at Amado
    Lunchbox keyring glowing under purple-blue UV lamp light during the resin curing step at Amado

    The UV lamp moment — purple-blue light, resin going solid in under a minute — is oddly satisfying. Felt like proper chemistry.

    Step 5: Final details, final cure.
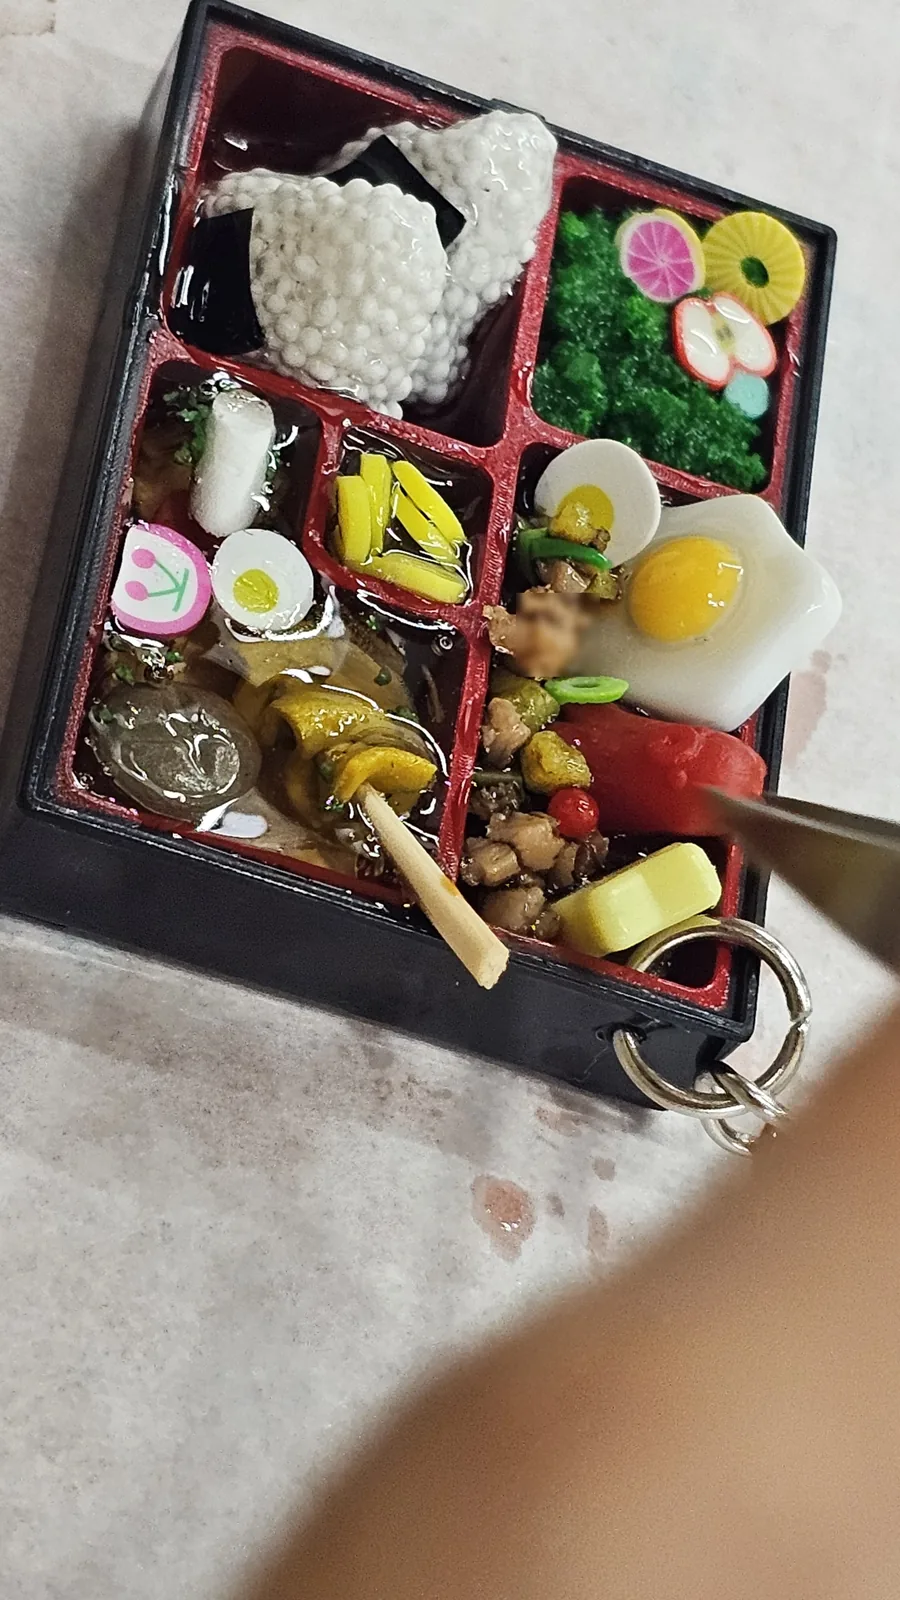
    Nearly completed lunchbox keyring close-up with tweezers placing the last food pieces, rice ball and bulgogi filling visible
    Nearly completed lunchbox keyring close-up with tweezers placing the last food pieces, rice ball and bulgogi filling visible
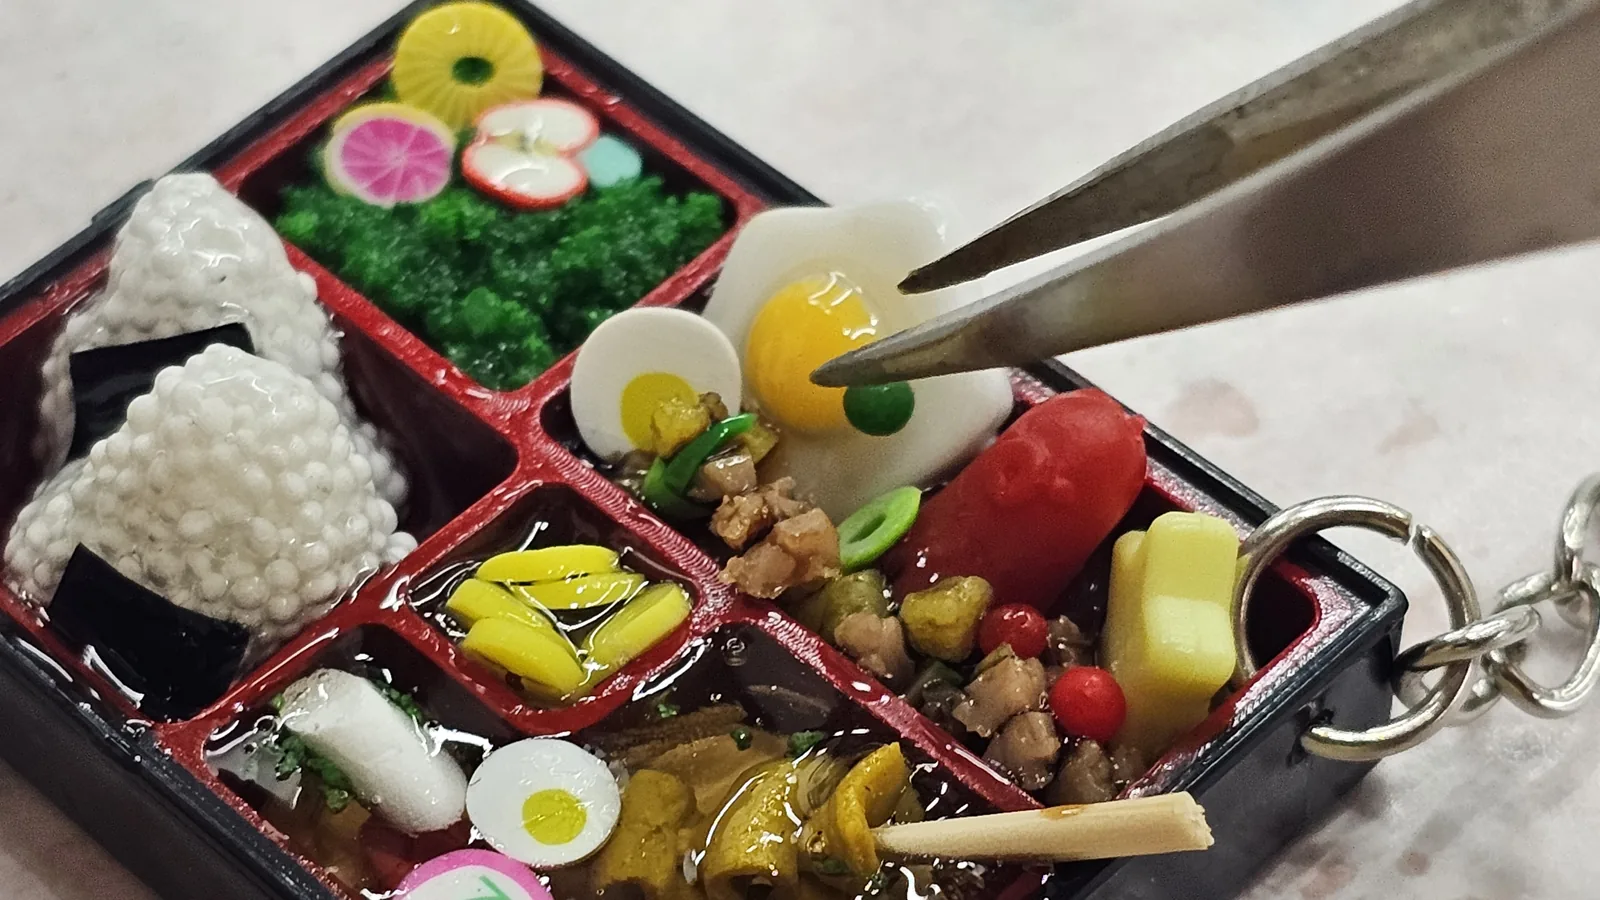
    Close-up of lunchbox keyring with tweezers placing a tiny fried egg, the box nearly full with colorful miniature food
    Close-up of lunchbox keyring with tweezers placing a tiny fried egg, the box nearly full with colorful miniature food
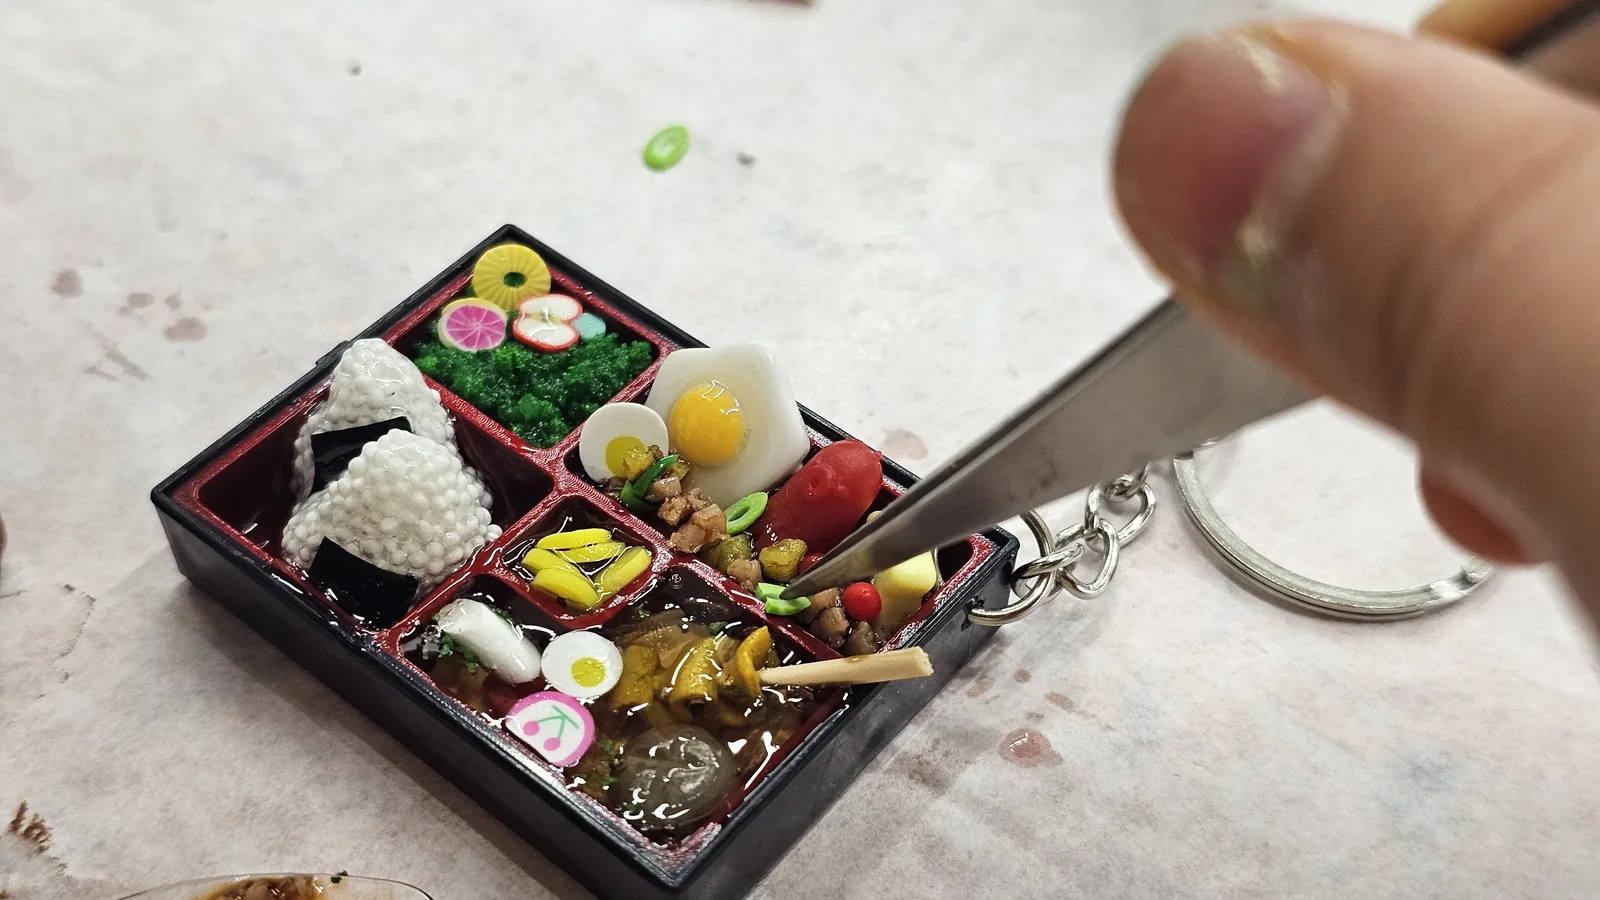
    Hand holding an almost-finished lunchbox keyring while making final adjustments with tweezers
    Hand holding an almost-finished lunchbox keyring while making final adjustments with tweezers

    Last few pieces in, one more UV cure, done. The resin seals everything solid — the miniature food is locked in, nothing shifts around.

    The Finished Keyring
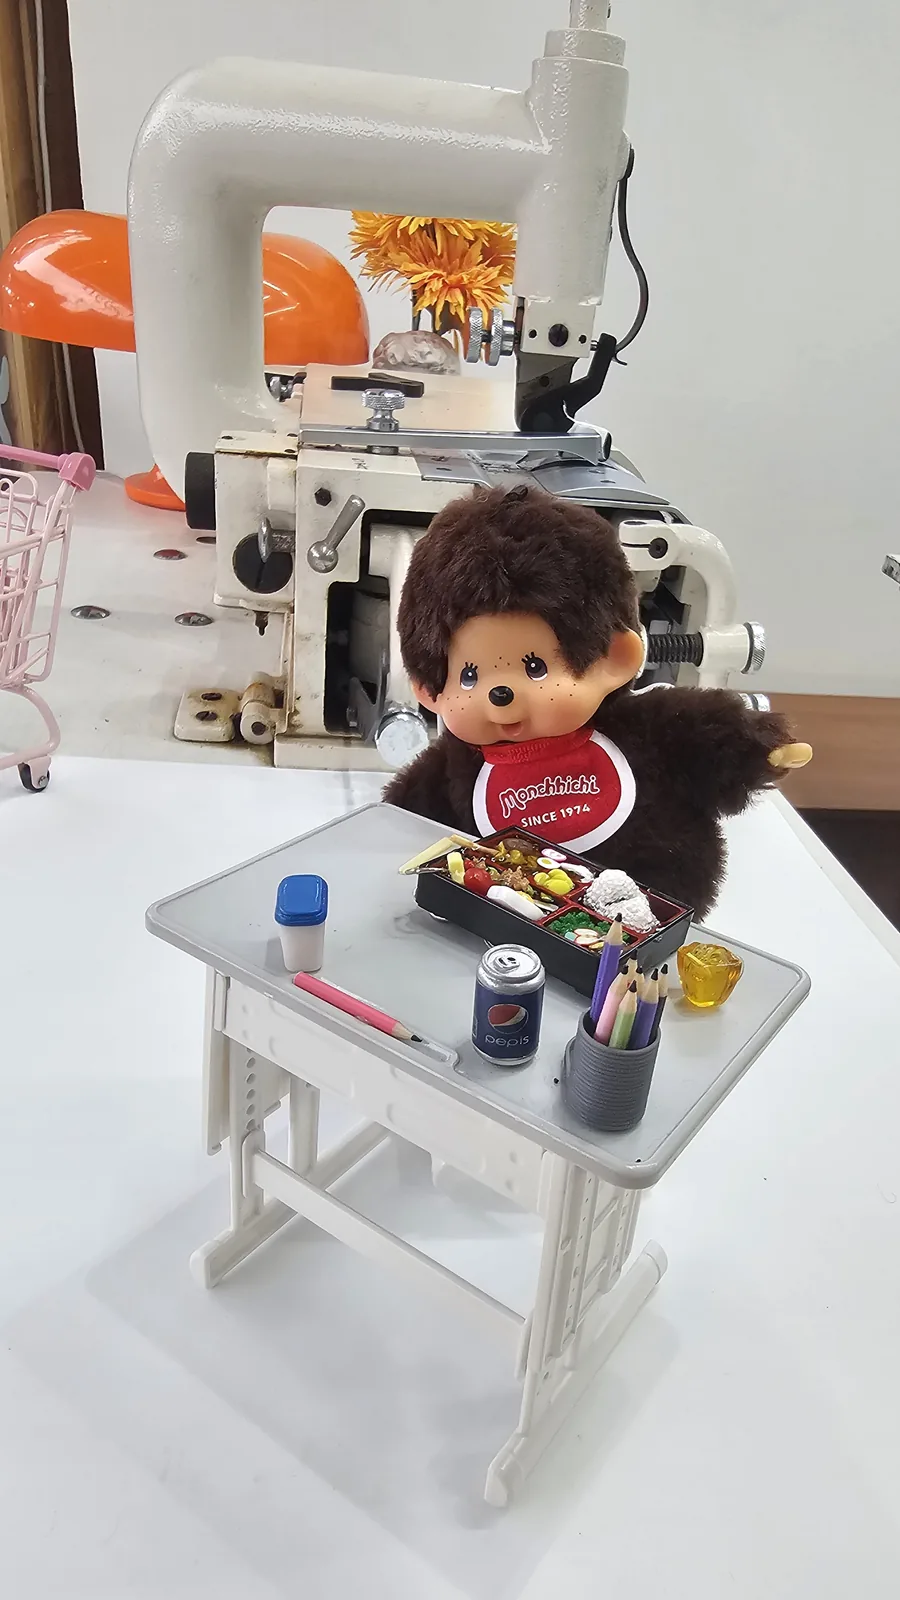
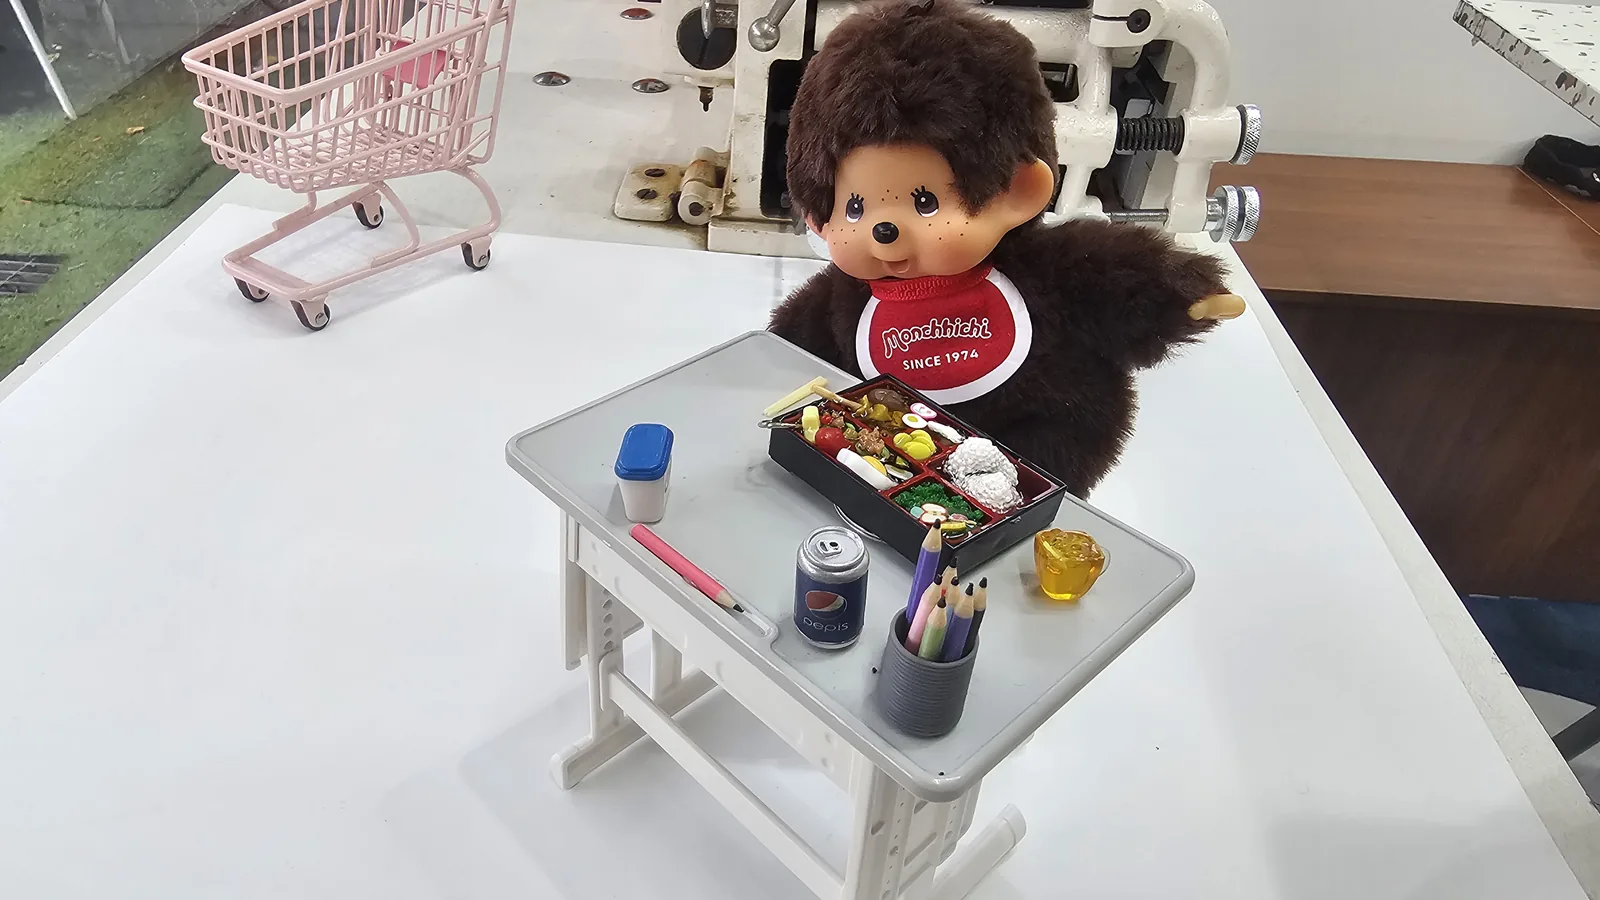
    Finished lunchbox keyring displayed on a miniature school desk beside a Monkichi plush doll at Amado
    Finished lunchbox keyring displayed on a miniature school desk beside a Monkichi plush doll at Amado
    Completed lunchbox keyring posed with Monkichi plush toy and mini desk set, leather sewing machine visible in background
    Completed lunchbox keyring posed with Monkichi plush toy and mini desk set, leather sewing machine visible in background
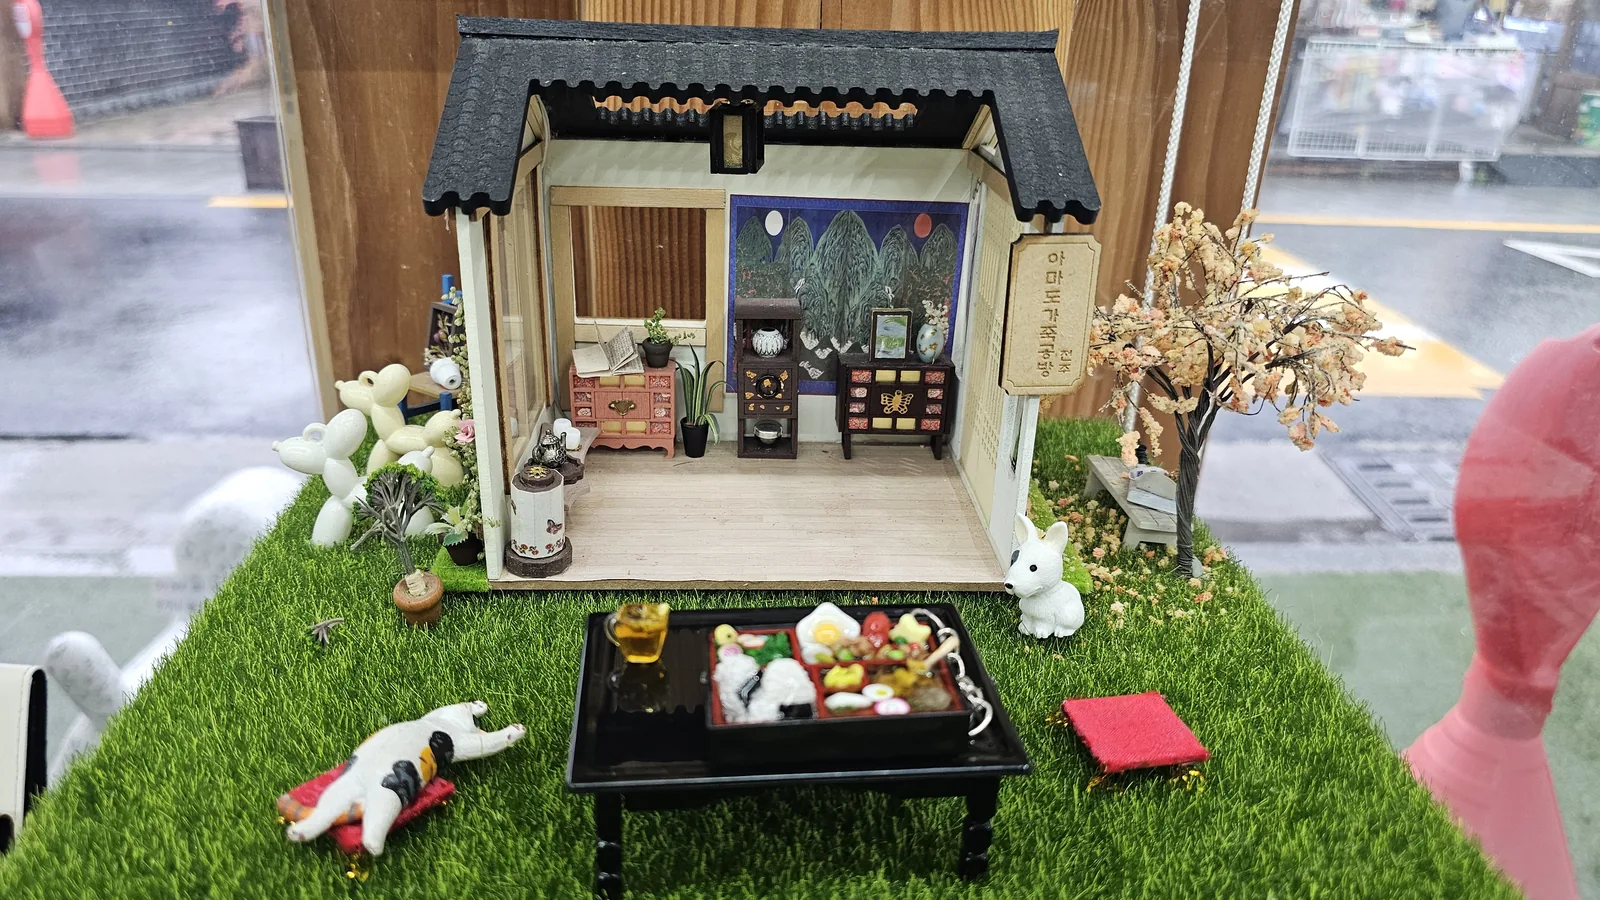
    Amado Leather Workshop hanok miniature diorama display with completed lunchbox keyring placed on a small traditional tray
    Amado Leather Workshop hanok miniature diorama display with completed lunchbox keyring placed on a small traditional tray

    They have a small photo corner set up — a Monkichi plush doll, a miniature school desk, a tiny hanok diorama with the workshop sign. You place your finished keyring in the scene for a quick photo. It felt authentic rather than forced.

    The finished keyring looks better than I expected for 45 minutes of guided work. Clean resin seal, detailed pieces, actually usable as a keychain.

    The Bonus

    Didn’t expect this: they gave me a free drink-making activity on top. Same concept — miniature resin in a tiny cup, UV cured. Quick, maybe 10–15 extra minutes.
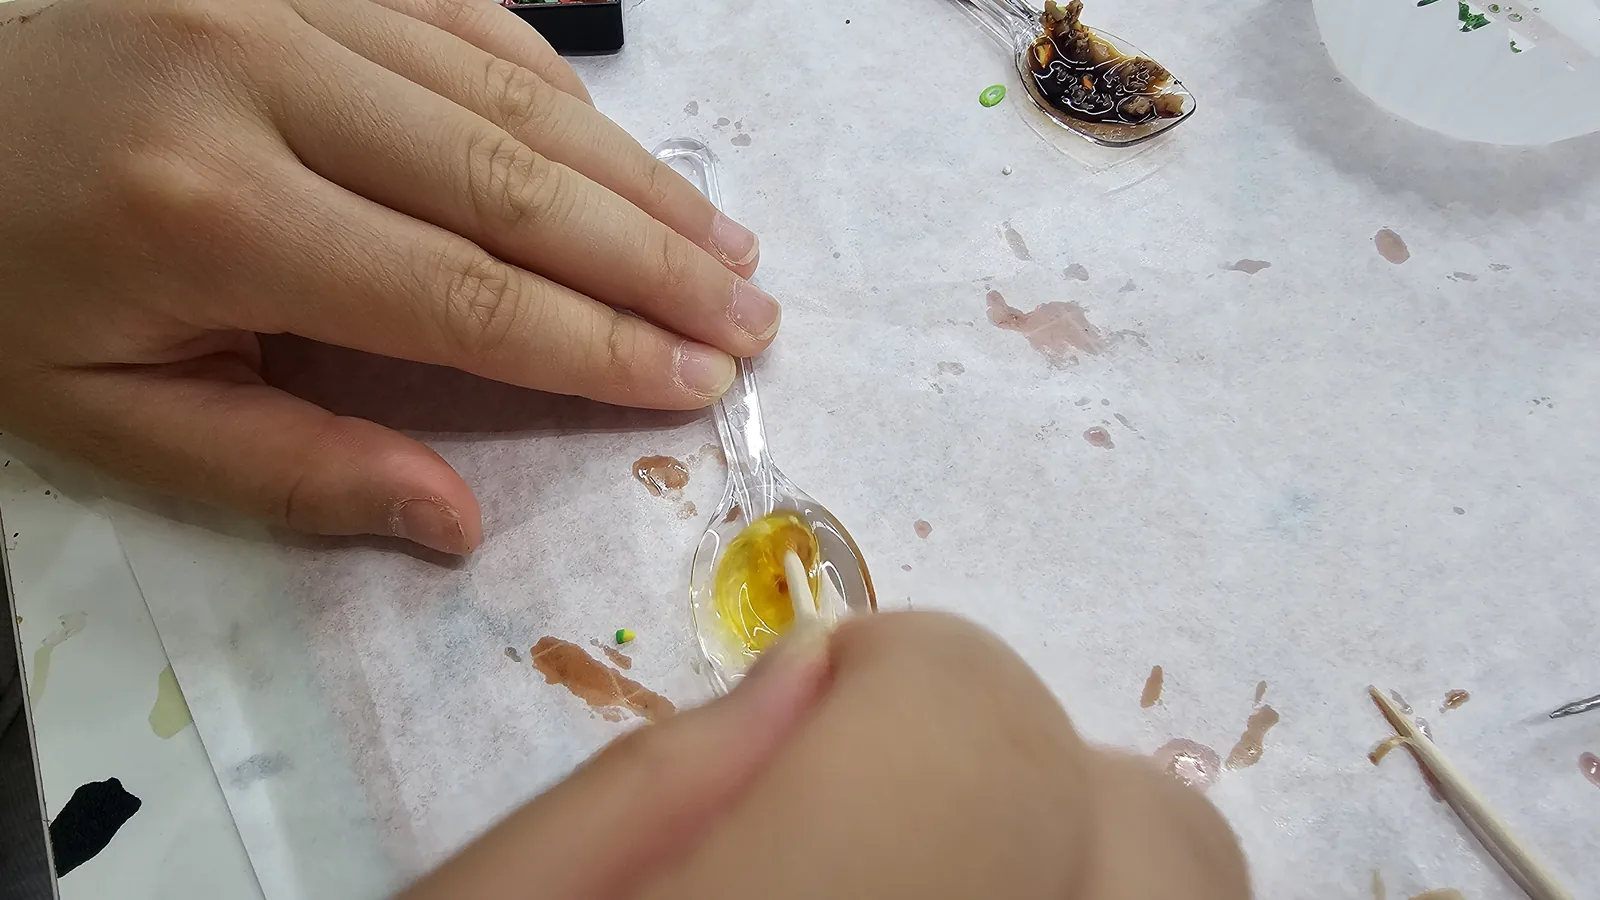
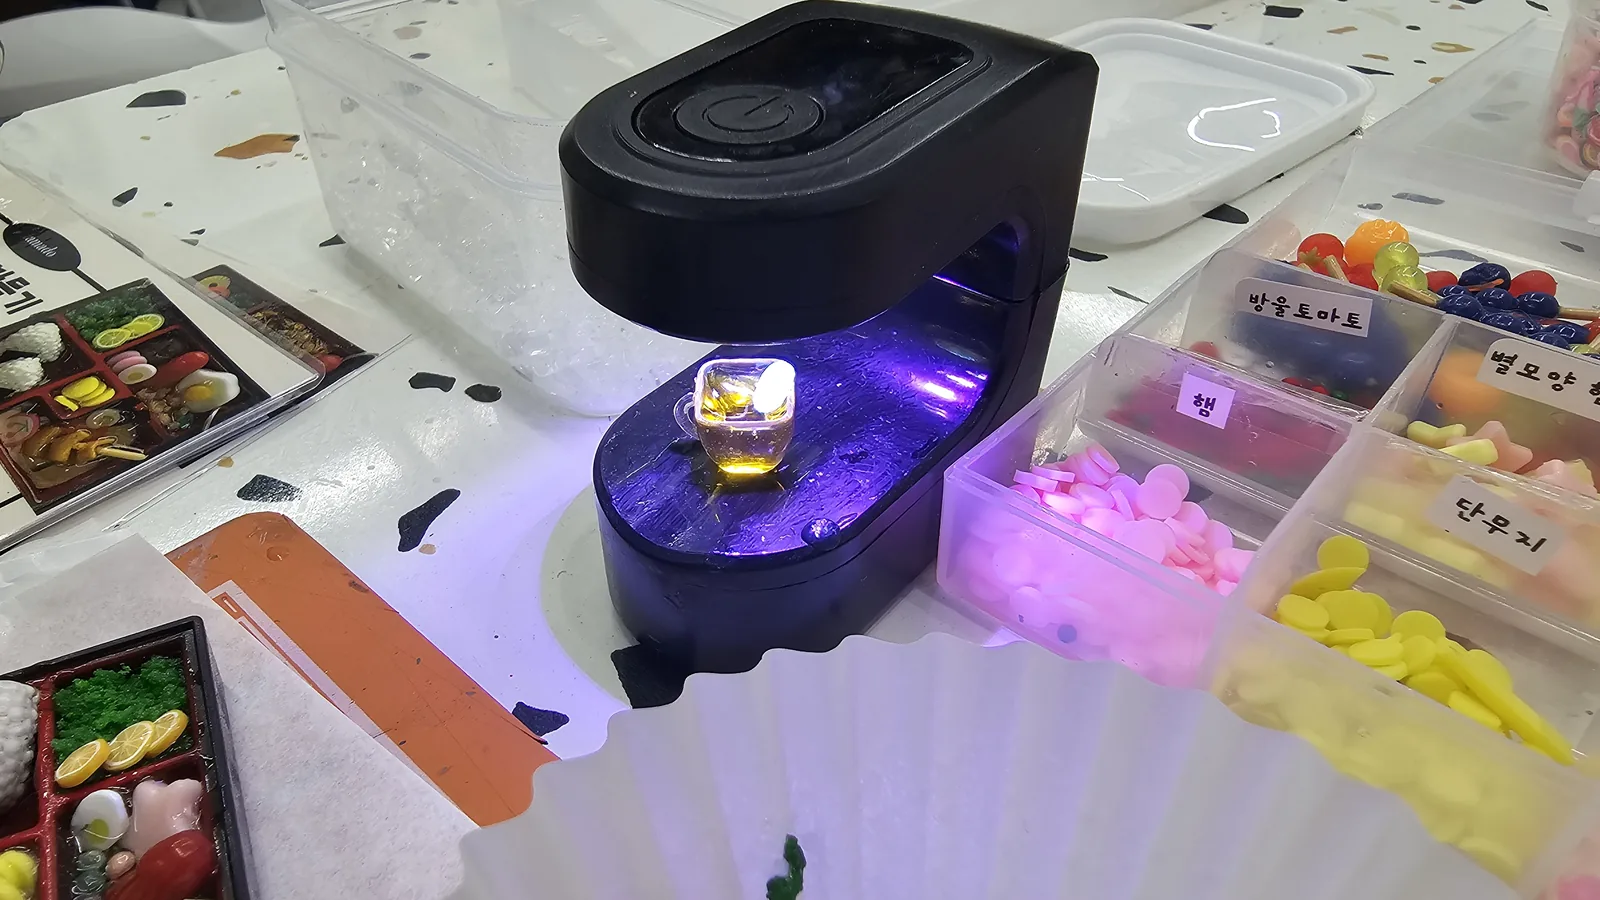
    Two hands stirring golden UV resin in a clear spoon, creating miniature sauce for the lunchbox keyring
    Two hands stirring golden UV resin in a clear spoon, creating miniature sauce for the lunchbox keyring
    UV lamp curing a small miniature resin cup, ingredient boxes for tomato, ham, and radish visible nearby
    UV lamp curing a small miniature resin cup, ingredient boxes for tomato, ham, and radish visible nearby

    That addition pushed the experience from “yeah it was fine” into “I’d come back” territory.

    The Rest of the Shop
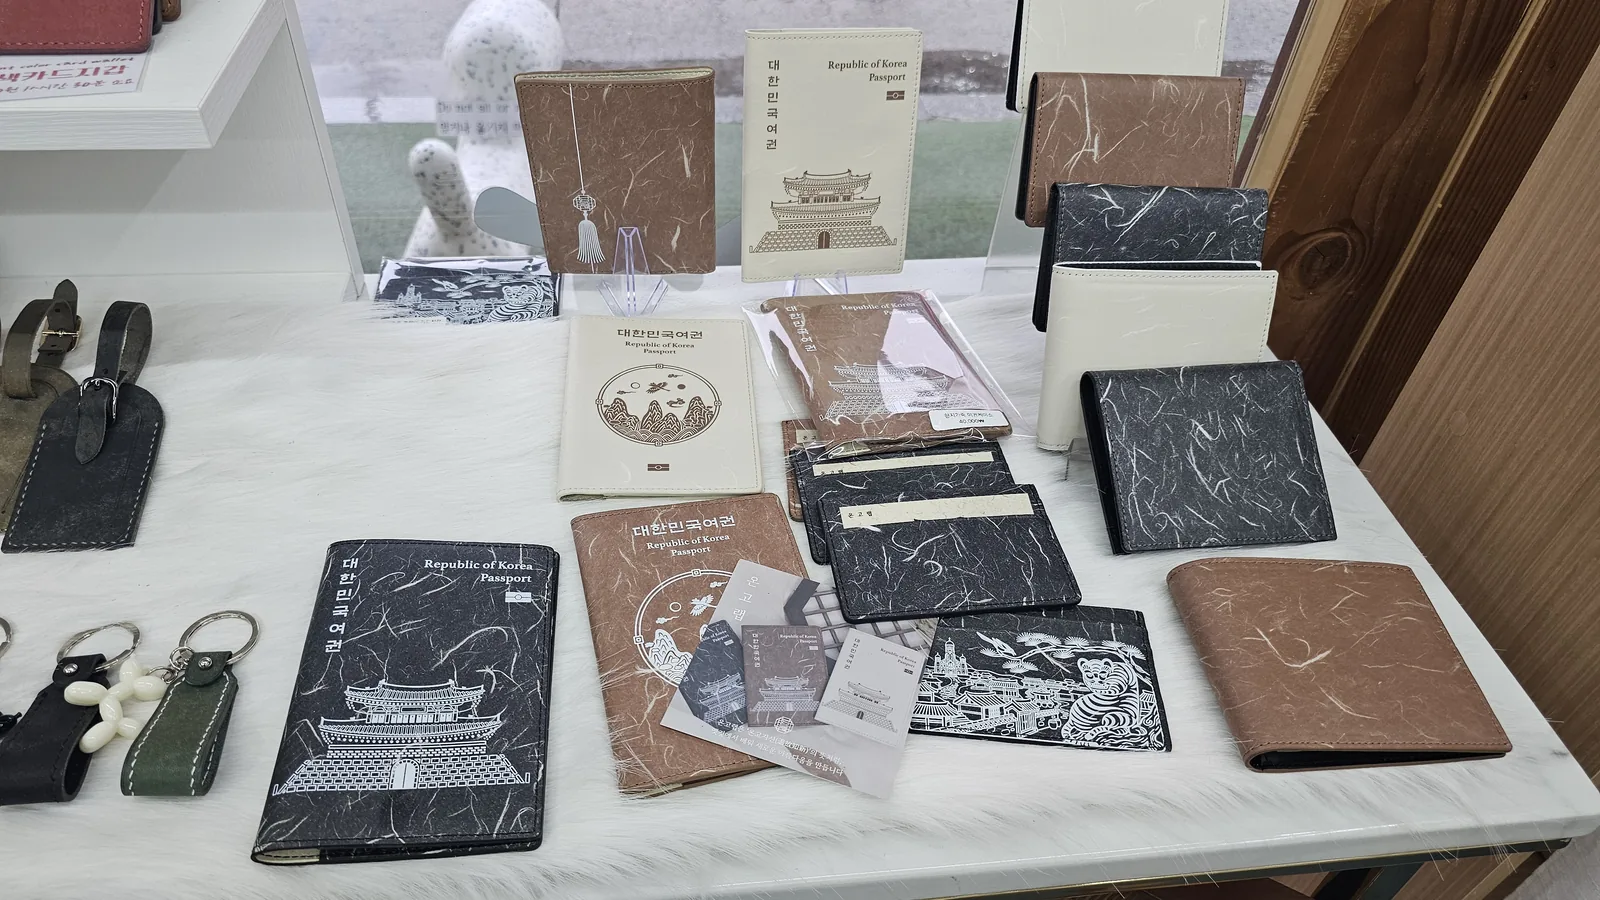
    Leather goods display at Amado featuring Korean passport holders, card wallets, and name tag keychains
    Leather goods display at Amado featuring Korean passport holders, card wallets, and name tag keychains
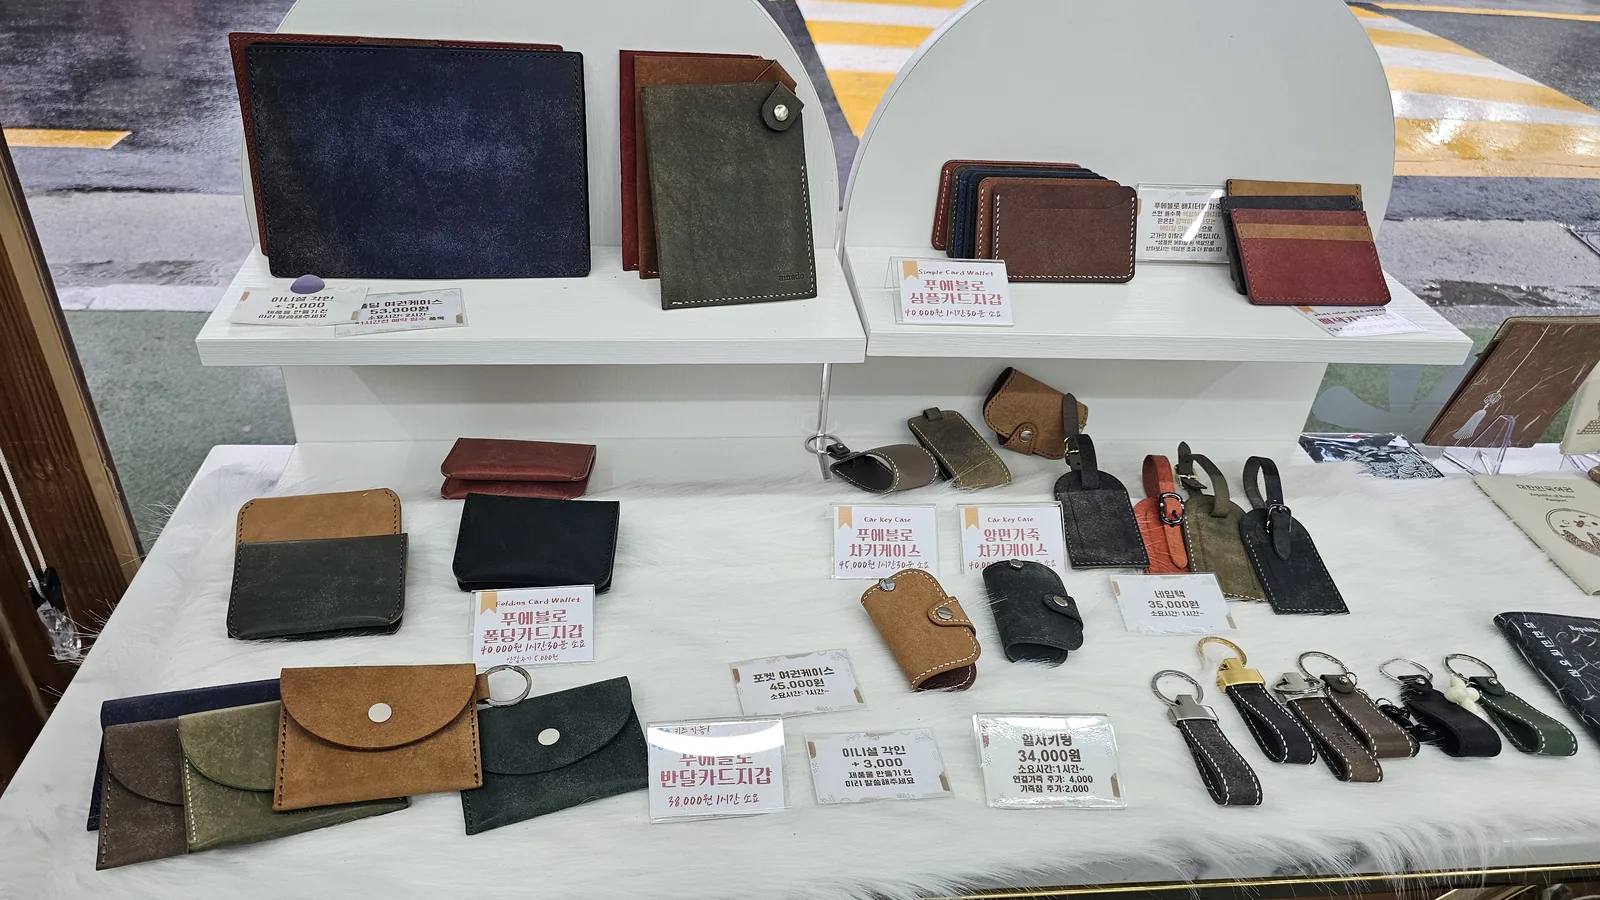
    One-day class leather products displayed with price tags at Amado, including card wallets, car key cases, AirPods cases
    One-day class leather products displayed with price tags at Amado, including card wallets, car key cases, AirPods cases
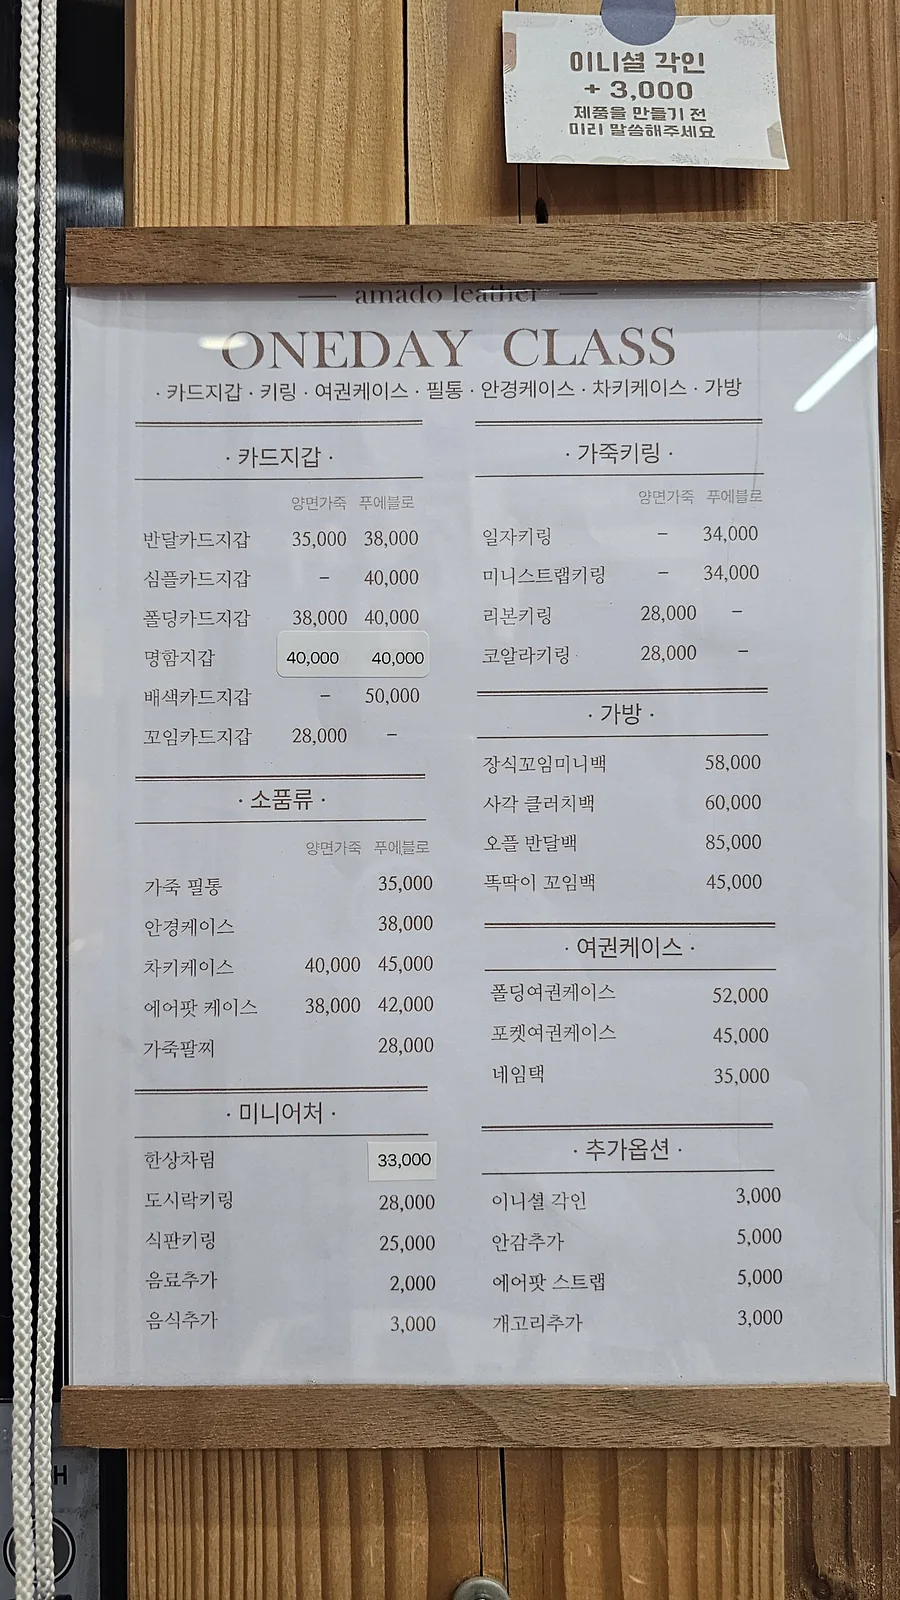
    Full one-day class price list at Amado Leather Workshop covering card wallets, keyrings, bags, passport cases, and miniature classes
    Full one-day class price list at Amado Leather Workshop covering card wallets, keyrings, bags, passport cases, and miniature classes

    The leather side of the business is legit. Passport holders, card wallets, glasses cases, AirPods cases — all made in-class or available to buy off the shelf. The pricing looked fair for handmade leather work. If you’re into leathercraft, their full one-day class menu is worth a look separately.
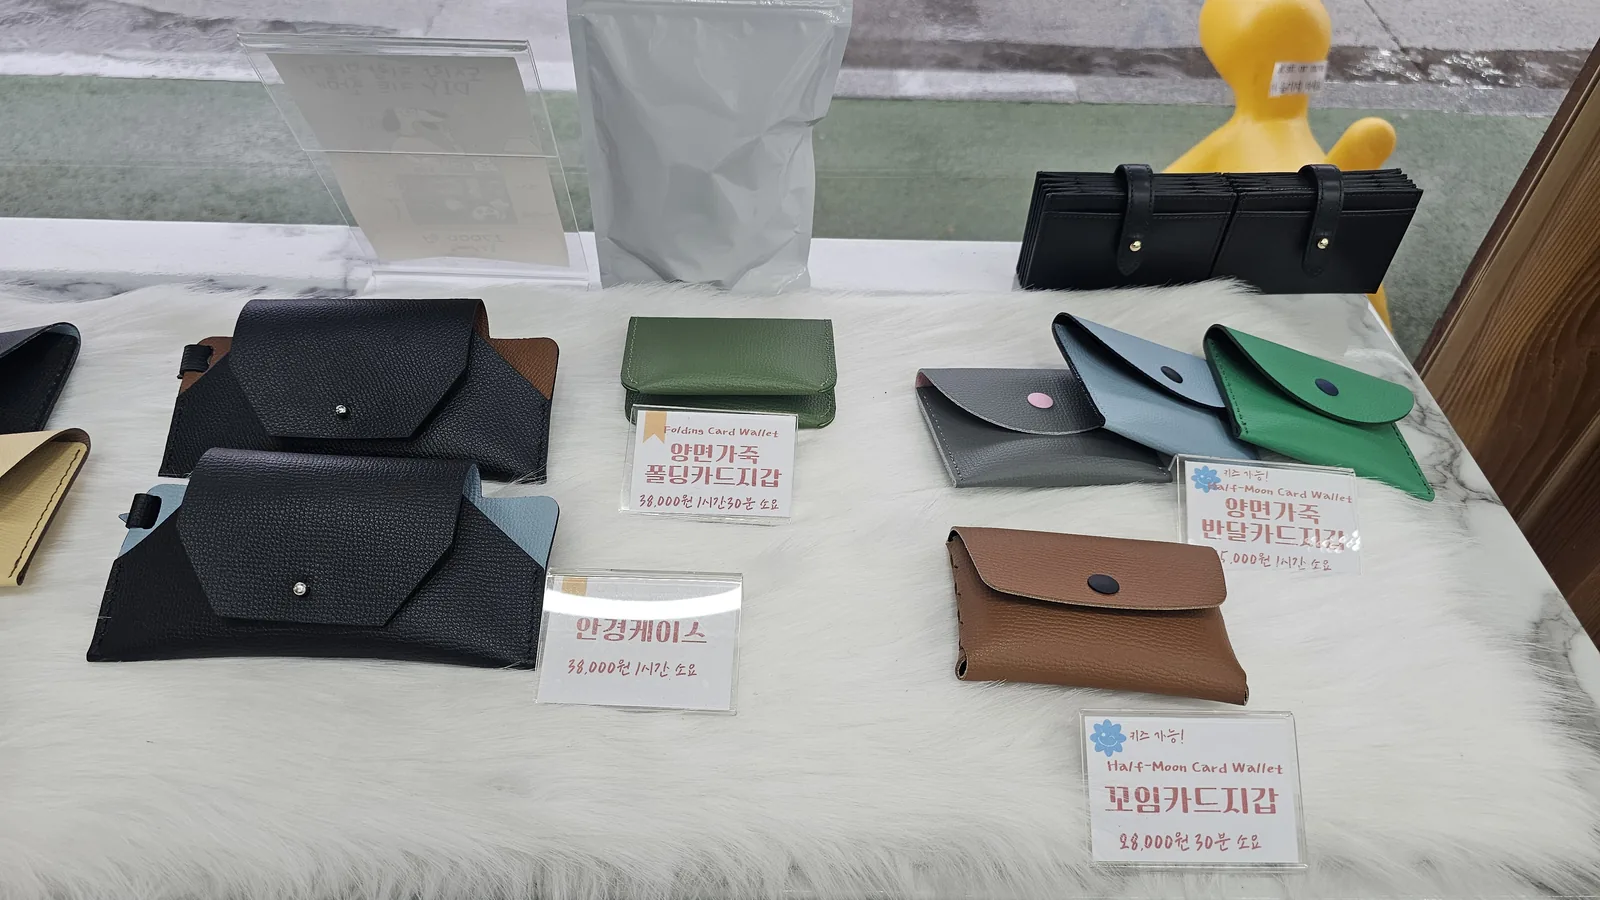
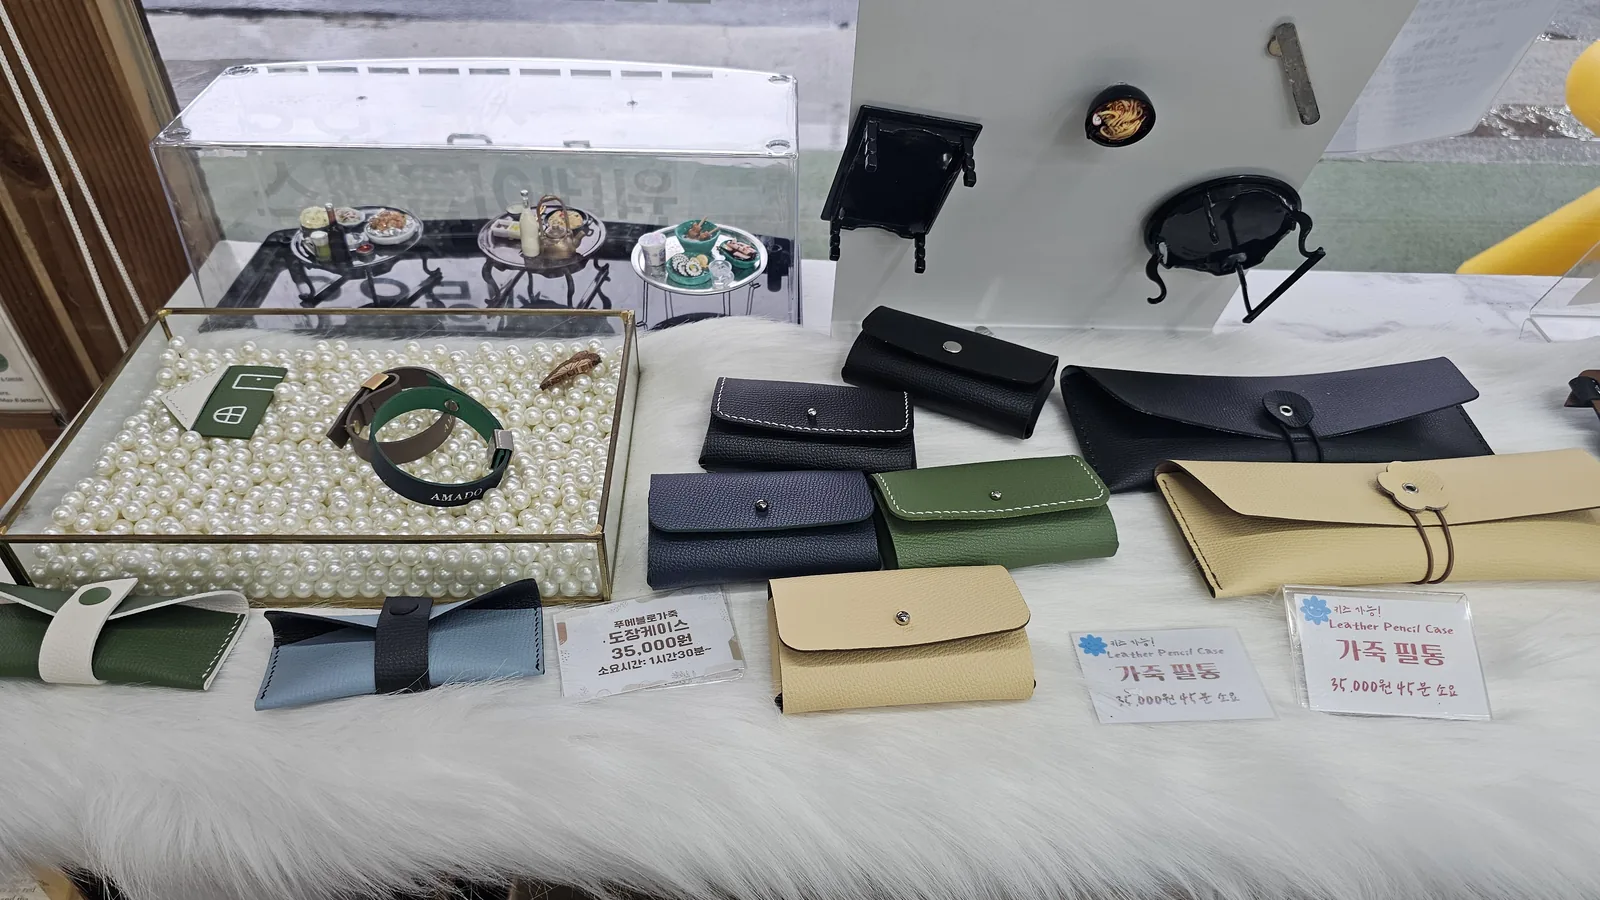
    Leather product display at Amado showing double-sided folding card wallet, glasses case, and twisted card wallet
    Leather product display at Amado showing double-sided folding card wallet, glasses case, and twisted card wallet
    Display of leather stamp cases, pencil cases, and AMADO-engraved leather bracelets beside a piano-shaped glass display cabinet
    Display of leather stamp cases, pencil cases, and AMADO-engraved leather bracelets beside a piano-shaped glass display cabinet

    The Verdict

    Should you do this?

    If you’re spending a day in Jeonju Hanok Village and want something to take home that you actually made — yes. The keyring beats most of the mass-produced stuff sold in the village shops, and you made it yourself in 45 minutes.

    If you’re into Korean miniature craft culture or the dosirak aesthetic — definitely yes.

    If you want a deep craft experience where you learn a real skill — lower expectations a bit. This is guided assembly, not a clay sculpting class. The result is great; the process is accessible rather than challenging.

    If you’re short on time — budget an hour, maybe a bit over with the photo corner. Manageable.

    28,000 KRW (~$21) for something handmade that you’ll actually use. That’s fair by any measure.

    Already planning to come back for one of the leather classes next time.

    FAQ

    How much does the lunchbox keyring class cost at Amado?

    The dosirak keyring class is 28,000 KRW (about $21 USD) per person, and takes approximately 45 minutes.

    Do I need to book in advance?

    Check Amado’s official Instagram or Naver for reservations — walk-ins may be possible but booking ahead is safer, especially on weekends in Jeonju Hanok Village.

    Is English available at Amado Leather Workshop?

    Not confirmed during this visit — it’s a Korean-run workshop in a tourist-heavy area, so basic communication may be manageable, but don’t count on full English support.

    What other classes does Amado offer?

    Beyond the miniature keyring class, Amado runs one-day leather classes for card wallets, passport holders, AirPods cases, key fobs, and more. A full price list is posted in-store.

    How long should I set aside for the class?

    Budget about 60–75 minutes total — the core class is ~45 minutes, and they may throw in a small bonus activity.

    You might also like

    📍 Location

    Open in Google Maps →